Showing posts with label bulkheads. Show all posts

Sunday, August 30, 2015

This and that…and back to school

I started school last week, so it will be interesting to see just how much time I have to keep the project moving. The goal for the summer was to finish up major portions of the temperature sensitive work - i.e., fiberglassing - so I can still keep things happening over the winter. I still have a fair bit to do, but I feel good about the progress I made this summer. I bought my third gallon of West System epoxy on Friday, and I have a roll of biaxial cloth to keep me busy for a while.

Today was a hodgepodge of tasks, most of them fairly small but all part of moving ahead. I glassed in the vertical supports for the settee backs and cut a bulkhead for the under-sink galley area. Glassing it in had to wait because I have some sanding to do in that area first.


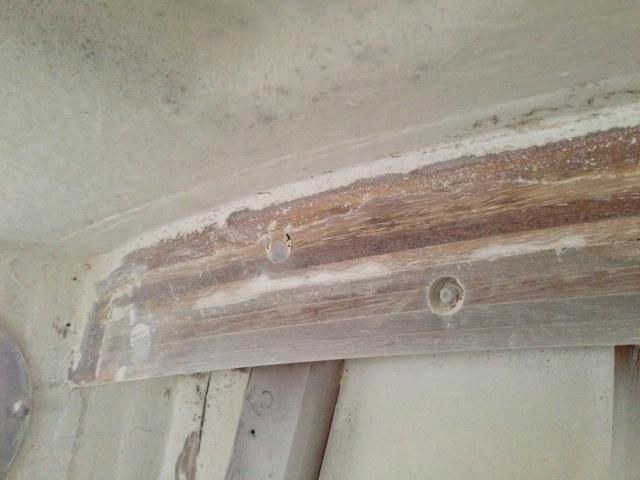
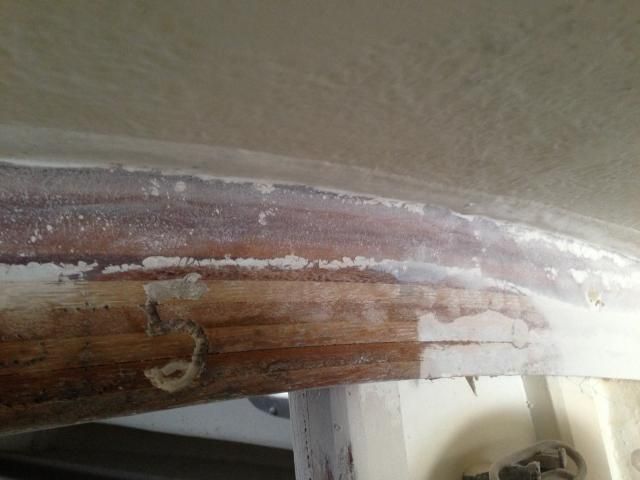
On the opposite side of the galley, I cut and removed some old cleats that supported the original shelving. I'm not sure what I'll do in that area, but I'll figure that out after the countertop is in.


Forward, where I plan to install a bifold door for the head, I temporarily installed the starboard doorframe, a leftover from the previous owner. For the port side I had to glue two pieces of framing - again from the previous owner - together to make a piece long enough to fit. Why? Because the PO was trying to put the boat back together on the cheap and used existing cabin structure, which had been carved up by another PO, as the foundation for new material. If I remember correctly, about a foot of doorframe was still intact on the bottom of the starboard side when I got the boat. The PO had used Gorilla Glue to attach a new piece of doorframe to the top of the old piece - yes, very sturdy. I rummaged through the pile of "spare" wood that came with the boat and found enough new door material to build the port side frame. I drilled a hole in each end of the doorframe pieces, then inserted and epoxied in place a wooden dowel. Both lengths were then joined with thickened epoxy and clamped to dry.


I'd planned on painting the areas under and behind the settees today, but decided to wait until I had more areas ready for paint so I could get it all done at once.

Friday, August 21, 2015

Port shelf done - glassing next

This morning I cut the port settee shelf and fitted it in place. Like I'd done on the starboard side, I made a vertical support for the shelf and the middle of the settee back. Both of those now need to be glassed in place (an order of biaxial should arrive today).

I also installed a 1x2 cleat along the bottom inboard edge of both shelves, securing them with 5 ss screws, to provide a better surface for joining the settee backs to the shelves.

It would seem that the next logical step is to glass the supports in place, then remove the settee tops and paint the area before finally securing all the bits in place. I do need to sort out the head door and posts arrangement before I call the starboard settee done. That will happen before things get painted, I suppose.


Sunday, August 16, 2015

Yep, more tabbing

It seems like I'm finding about three hours each day to make progress on the Alberg. I began around 9 this morning and wrapped up at 11:30, making it 2.5hrs of fiberglassing. I'll be honest: I used to think fiberglassing was kinda cool; now I think it's a bit tedious. Like the grinding before it, I'm eager to get the fiberglassing done.

I glassed in the bulkheads on the port side of the saloon, once again using the unidirectional cloth. There's nothing too interesting to report about that. It went well. One little surprise is just how quickly I'm depleting my recently-purchased gallon of resin. Holy cow, this stuff goes fast - at $100/gallon! Ouch! As I'm tabbing, I find my mind considering cheaper alternatives, then coming back to the foolishness of cutting corners when I'm this far into the project. I'm sure polyester resin would be fine for the "furniture" installations (it's what Whitby used when they installed the bulkheads, etc), but I guess it's frowned upon in the boat rebuilding circles - at least that's my guess. Anyone care to enlighten me? Am I wasting too much money by using West System to install these bits?

Inside of the port settee

Galley ice box bulkhead

Aft end of the galley ice box bulkhead

Sunday, August 02, 2015

More bulkhead tabbing

I ran out of my 6" and 4" biaxial tape, but before I did I was able to tab the starboard bulkhead with two layers on the forward side and one layer on the aft side. I'll need to order more biaxial tape in order to finish the aft side and the rest of the settee and galley bulkheads. That will have to wait a week or so, however, since we're going to be spending some time together as a family.

I fired up the Westerbeke the other week just to ensure that it still runs. I keep fearing that I'll go to all the trouble to get the boat back together only to discover that I don't have a functioning diesel engine! That would be terrible. The diesel is sounding good and runs well. I'm looking forward to the day when it's sitting on a new engine bed and pushing Tradewinds through the water.


Wednesday, July 29, 2015

Settees, Galley, and Ice box/Nav

It's amazing how many steps it takes to cut one piece of wood to fit within the contours of a boat's geometry - especially when the power tools are on the ground and the measurements and fitting are within the boat (via a rickety ladder).

I've made good progress over the last couple days, however. I measured and cut plywood for the port and starboard settee fronts; the galley bulkhead, which is also the starboard engine box panel; the ice box bulkhead, which is the port engine box panel; both port and starboard settee tops and center supports. It's crazy how so few parts can consume two 10-hour days - and they're not even tabbed in place yet. Much of my time is spent trying to visualize what I want and how I want the parts to come together. And then once I've decided that, the process of defining an edge from which to take my measurements, and then taking the measurements, eats up even more time. And, of course, transferring my measurements to a piece of plywood and then cutting it out carefully takes yet more time. Nothing about this is fast. But why should it be? I've had this project for ten long years already!

But how incredibly satisfying it was yesterday to drag the settee cushions out of the basement and test fit them on the new settees! Had I not been so hot and sweaty and covered in sawdust, I could have taken a nap.

Determining level and settee height.

The two bulkheads framing the beginning of the engine box.

I couldn't resist: I had to try the cushion in place to see how things fit.

The starboard cushion wasn't cut properly, so it's tight at the forward outboard end.

1/2" ply for the settee tops; 3/4" ply for the settee fronts.

So far my materials are: 3 sheets 3/4" ply; 3 sheets 1/2" ply; 100 SS fasteners; 2 8' pine boards for cleat material.

Today I glassed in the forward side of the port bulkhead - and it took far longer than I expected. Wetting out 1708 biaxial cloth takes a lot of time! My setup wasn't the most efficient either. I did two layers of 6" and 4" tabbing all around the edge of the bulkhead.


I went ahead and cut all the layers/strips of cloth for the other side of this bulkhead and both sides of the starboard bulkhead. I'll tackle that job tomorrow after my epoxy mess in the cabin hardens and I can set up a more efficient work station.

Sunday, March 31, 2013

Delaminated Tabbing & More Grinding

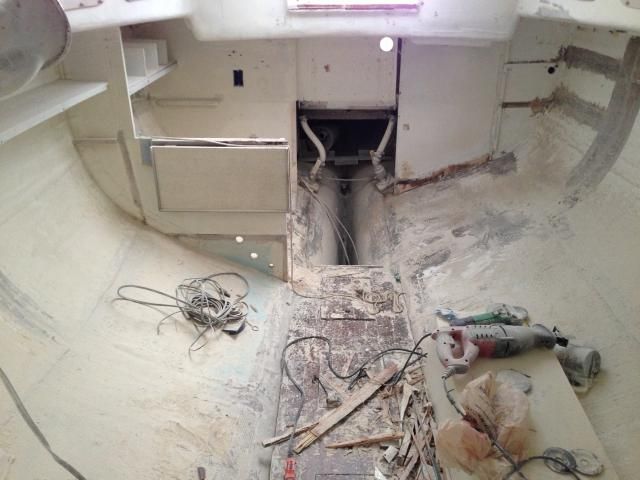
Grinding seems to go on and on. I cut out the remaining galley bulkhead then used my angle grinder with flapper wheel to smooth and grind tabbing remnants throughout the cabin. Nothing too fun about that. Dust, dust, and more dust.


I also removed the original engine beds and ground the tabbing smooth in that area.


While poking around in the cabin, I noticed that some of the original tabbing on the main bulkheads that support the mast beam seemed to have delaminated a bit. I really wasn't sure just how extensive the issue was, but I decided that it was best to continue the mess and finish all the grinding in one mega-round than to have to keep making dusty messes. I ground the tabbing in several suspect areas, and in some cases had to grind it completely down to the bulkhead because it was dry and delaminated.


Once all the surfaces are prepped, I'll add new tabbing to secure the joint.