I've been acquiring bits and pieces to take care of a few small issues before I can begin more major items like installing the stern tube and engine beds.
A couple of the engine mount studs were bent, so the other day I removed them and took one to a local store to match with threaded rod. Turns out I bought the wrong size - Standard instead of metric. I figured it out AFTER cutting four new studs.
No one local had the M12 1.75 threaded rod, so I ordered it and the nuts from McMaster-Carr. They ship out of their Chicago warehouse, so I had the pieces the next day.
I cut the new studs, cleaned up the ends, and threaded them into the mounts and locked them in place. I positioned all four studs evenly in their mounts and placed the lower stop nuts at 2-3/8" to establish a level position for the engine, leaving plenty of room to adjust the engine up or down as necessary later. One bit that's somewhat puzzling is that the engine mount flange dimensions/specs don't match the Westerbeke schematic. I planned to make a template of the engine based on the Westerbeke schematic, but it doesn't match the measurements I'm getting from the actual engine. It appears that the port forward isolator mount/flange is not the one indicated in the schematic. Whether or not it's original Westerbeke, I don't know, but the front mounts are a bit farther apart than indicated on the drawing.

In the process of doing all that, I was once again reminded of how careless a PO (or a professional) had been: one of the studs was not even the right size and wiggled in the engine mount.
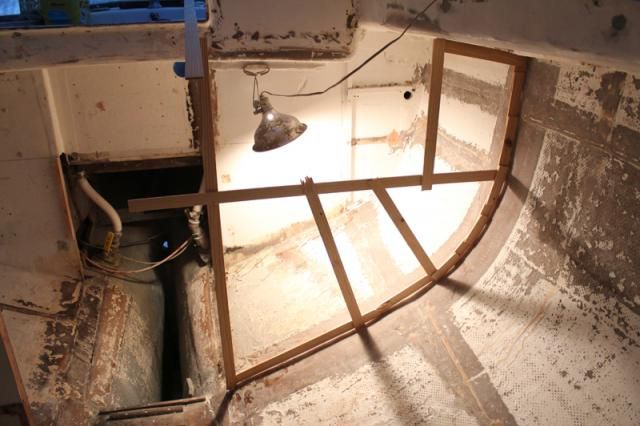
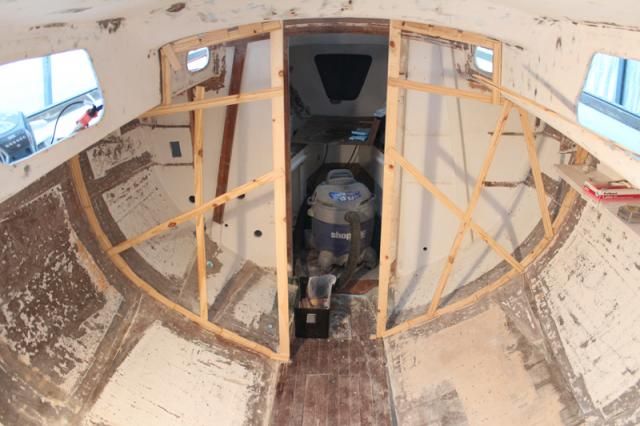
The other task I completed was fiberglassing the bottom of the bilge under the engine. Months ago I had scraped and vacuumed out broken pieces of resin and cement that were part of Whitby's construction method for filling the lower portions of the bilge and preventing the ballast from moving aft (I suppose). I used blue sheathing foam cut to shape to bring the area above the cement even with the rest of the bilge. In fact, I actually sloped it forward a bit to prevent water from collecting at the very aft end of the bilge, where a pump wouldn't be able to get it out.
With that done, I wiped down the area with acetone - I'd already sanded it - and put in a 6" wide strip of biaxial cloth. The cloth wasn't wide enough at the forward end to come up the hull side more than a 1/2", so I cut three more lengths of cloth and placed them laterally across the bilge floor and well onto the sides of the hull.
With the bilge fiberglassed, I don't have to worry about any water soaking into the cement and any voids down there. Additionally, I can now install a garboard drain and use it periodically to rinse the interior of the hull after sanding. The best part of having it done is that I can now begin work on the engine beds and stern tube.