Monday, April 08, 2013

Instruments

Tradewinds came to me with Standard Horizon digital depth and speed, but the the speed transducer doesn't seem to be working and the depth transducer is MIA (although it could be stored with other A30 parts and I've just forgotten; at any rate, it's not installed).

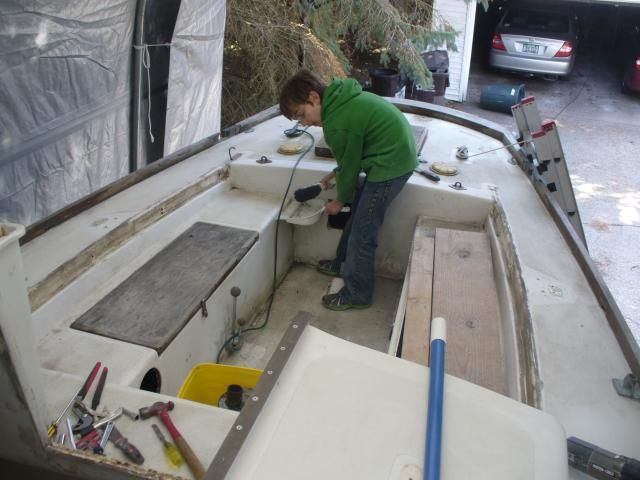
Even though reinstalling instruments is way, way down the line, I was thinking about what to do. I wasn't a big fan of the Raymarine fishfinder that someone installed on a super classy dashboard mount that used to jut from the cabin trunk, but I dug out the manual (thank goodness for a previous owner who kept everything) and discovered that it actually has some decent functions AND it can be flush mounted. Cool. I cleaned it up and took it out to the boat to see if it worked.

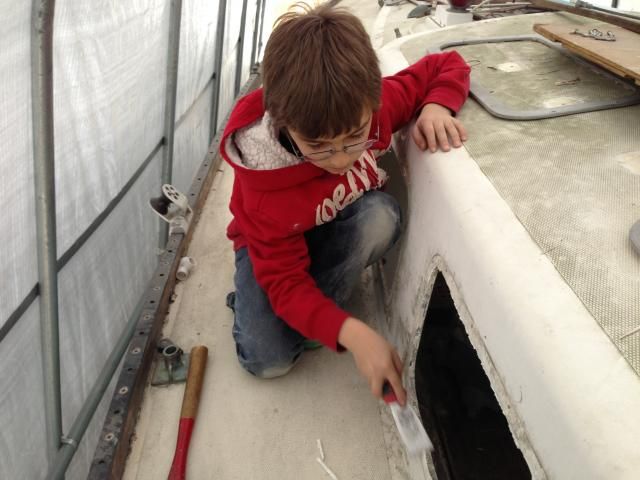
My younger son, always eager to help.

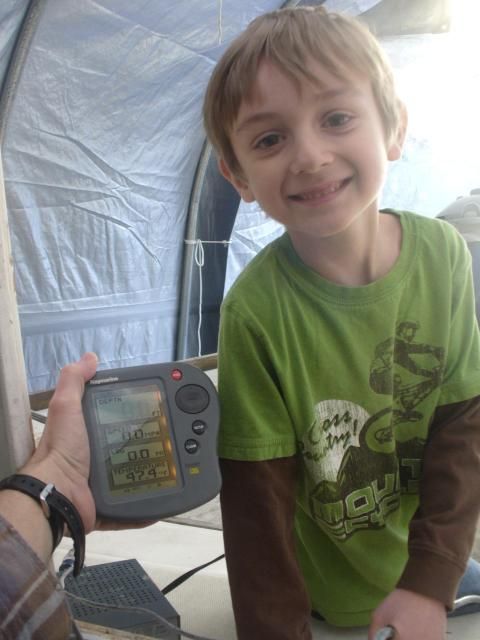
It does! And it's actually pretty cool. I don't like the fish finder screen much, but this data screen is perfect for sailing, showing depth, speed, log, and water temp. My eldest son (not pictured) spun the paddlewheel while I watched the screen for a reading. Amazingly, we hit nearly 6 kts in the driveway. So, it looks like this unit will be flush mounted on the rear of the cabin trunk when the time comes to put things back together. This little unit will save over $300, the cost of a relatively inexpensive Raymarine ST40 Bidata.

While I was feeling handy and seeing what I could do to make "old" instruments serviceable, I brought the compass in and cleaned it up. A large bubble had formed in the globe, and I just happened to have some Ritchie compass fluid on hand from servicing Ariel's compass a few years ago, so I took the thing apart, improvised a filler using a turkey syringe and part of a foam earplug, and refilled the fluid.


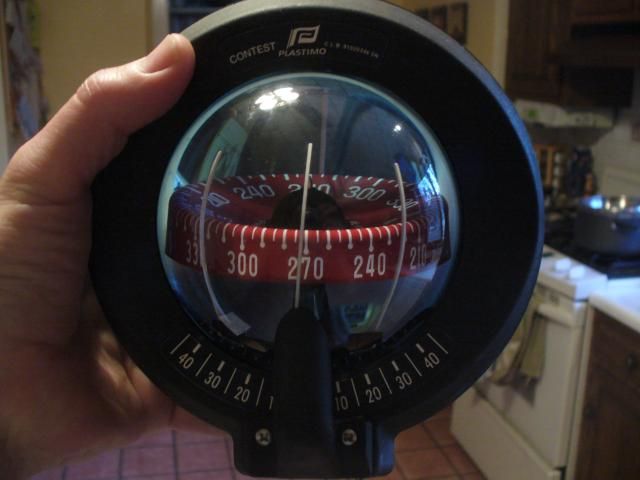
It worked! And the two lights work as well.

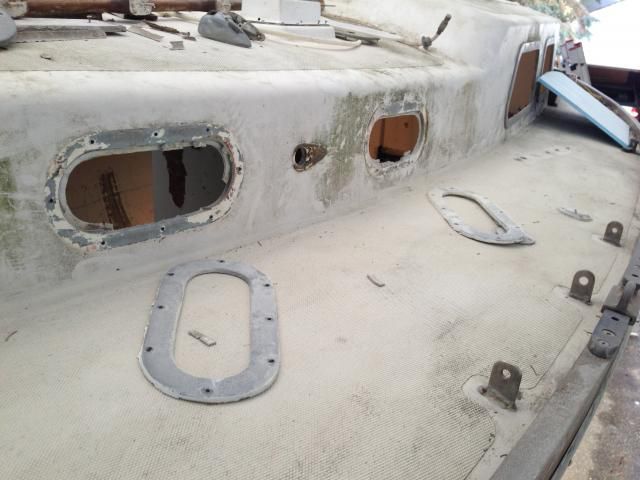
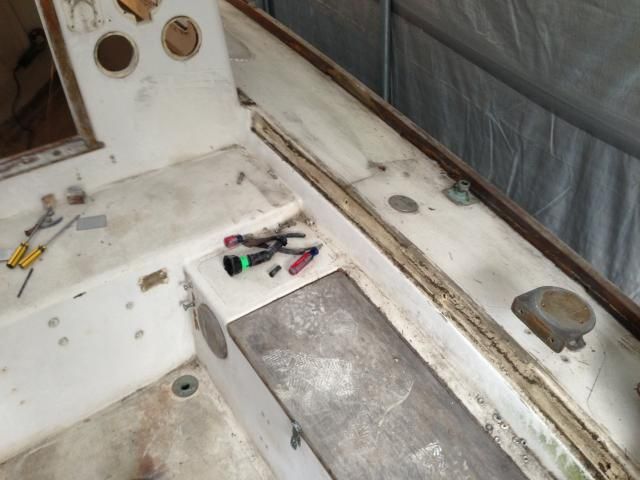
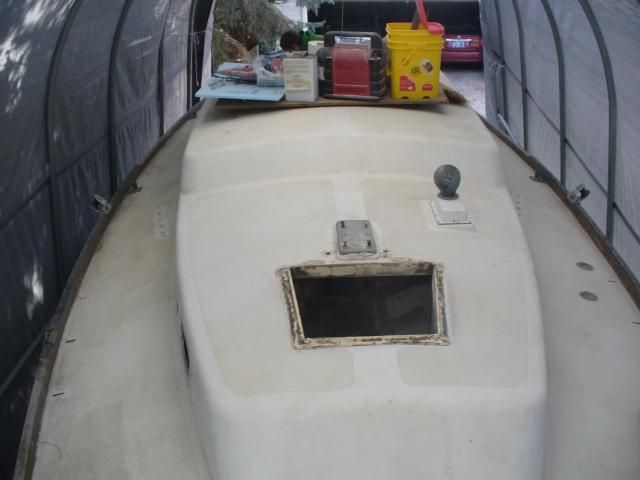
I also finished what I hope will be the final round of major sanding/grinding. Using a combination of angle grinder w/ flapper wheel and a 6" sander, I think I'm ready to call that part of the project DONE!


Sunday, April 07, 2013

Some Sanding and Stripping Parts

Things are moving right along now that I've been spending an hour here and there working on the boat. Previously, I felt that unless I was willing to do marathon-length efforts, it wasn't worth getting geared up. For new readers, this is what "geared up" looks like: full-face respirator, Tyvek suit, leather gloves, tape at the neck and wrists, and a 4-1/2" angle grinder.

To borrow wisdom from Tim Lackey, keeping things going - even if they're only small things - is important and actually accomplishes quite a bit over time. Sanding does seem to go on forever, however, but really it's not too bad.


I'm eager to get things ready for reconstruction. To that end, I used a 6" sander with 40 grit paper to knock off loose paint in the saloon, then switched to a 4" sander with 80 grit to do the overhead. It's tough to know just how much paint must be removed from the hull, but I think I'm just about there. Probably one more round of sanding should do it.


There are a few spots where the interior of the overhead is especially uneven. Those areas will need a little epoxy filler before painting. Such is the nature of an early 60s fiberglass sailboat.

I gave the interior a general cleaning when I finished sanding. I'm amazed at just how much dust I've generated. Sweeping down the hull sides produced several pounds of fine dust that looked like flour.

With the help of my son, I pulled the ports and frames, then cleaned the openings. Jake's a good little helper, and he scraped the old sealant from around the openings.


We pulled the chainplates as well. I'm not sure whether they're original or not, but they have not been upgraded, per the Alberg 30 site, to 5/16" shoulder bolts. The chainplate bolts are a known weak spot on these boats, so I'm surprised no one made the change in all these years. It was interesting to discover that although there were three fasteners on the port forward chainplate, there were only two holes in its partner on the starboard side. Odd. All of the chainplates will be cleaned up and the fastener holes enlarged before going back in with new 5/16" should bolts and backing plates.


I've also removed the coamings, forward hatch and surround, and a few other odds and ends that would eventually have had to come off for deck refinishing.


I was pleased to discover that the original bronze stern tube was fairly easy to remove. I used a pipe wrench from inside the boat to unscrew the threaded aft end through the thickened epoxy Whitby used during construction. I then used a chisel to clear the old epoxy from the inside of the hole. It's clean and ready for the next step of using a new fiberglass stern tube when it comes time to install the engine and determine alignment.


Jake and I cleaned up before calling it a day. Jake did a fantastic job of sweeping and sprucing things up - and, in his own words, he had "the best day" helping his daddy.
 

And here Jake is a few years ago helping me aboard our Cape Dory 36. Time sure does fly!