My immediate challenge is to remove the remnants of the starboard bulkhead without damaging the adjacent settee. A Sawzall would be the tool of choice, but my boat budget can't afford to absorb that kind of expense, so I'll continue using the angle grinder and cutoff wheels. Another challenge is prepping the hull for the eventual tabbing once the bulkheads are fitted and ready for permanent installation. I've been using 40 grit on my r/o sander, but I'm going to make a trip to Lowe's to search for something more aggressive. The 40 grit just doesn't have what it takes to deal with the hull's uneveness. Tim Lackey, a yacht surveyor and restorer, used 16 grit on a similar project, so that's probably what I'm after. I suppose another alternative might be a flapper wheel (or whatever it's called) that I could use on the angle grinder. I'll see what a trip to Lowe's reveals.
 This is where I've concentrated most of my efforts thus far - port settee, bulkhead, and head compartment.
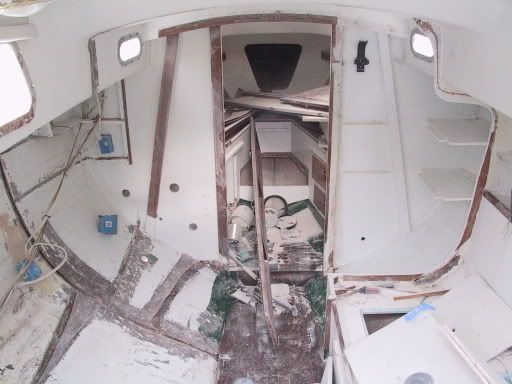 Yesterday I removed the starboard "bulkhead" that had been scabbed in to fill a p/o's Sawzall rampage. The bulkhead was attached with several screws and some adhesive to the remaining bits of the original bulkhead.
 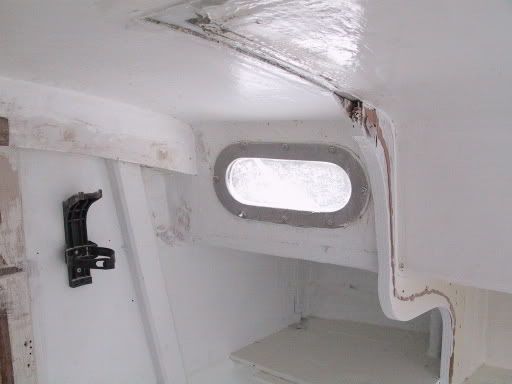 Like the port bulkhead, these remnants will be completely removed so that a new, solid bulkhead can be fitted.
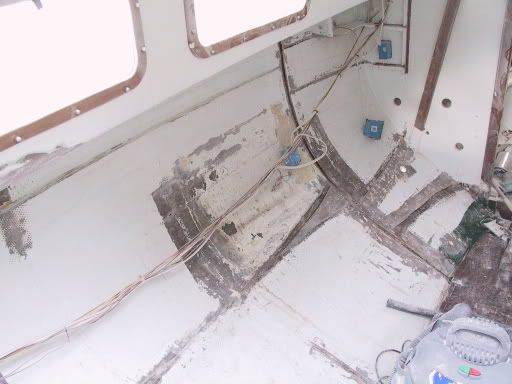
 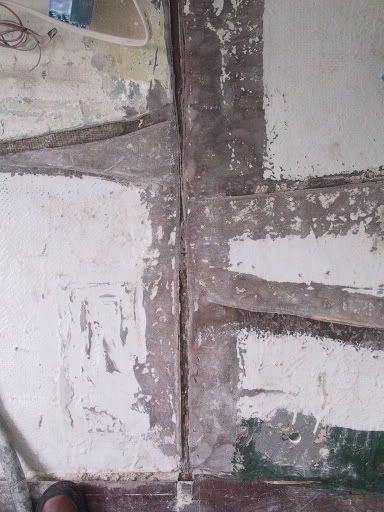 The vertical line here is the location of the port bulkhead that separates the saloon from the head compartment. The horizontal line to the left is the settee bottom and back. The two lines to the right are the head cabinet and pedestal.
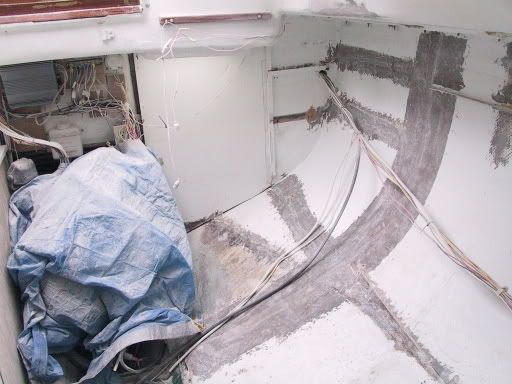 I had tackled this area some time in the fall. A transverse bulkhead will form the forward part of a nav table and ice box. Storage shelves and bins will be located along the outboard edge.
 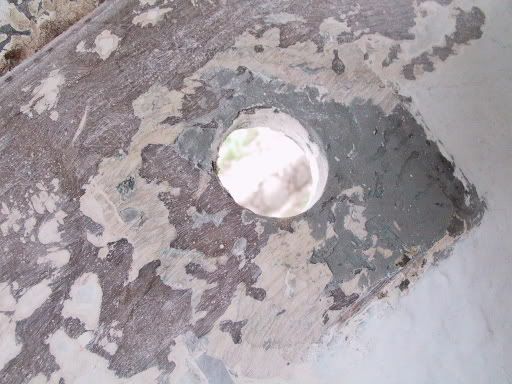 One of two thruhulls that I removed yesterday. This one will be glassed over.
 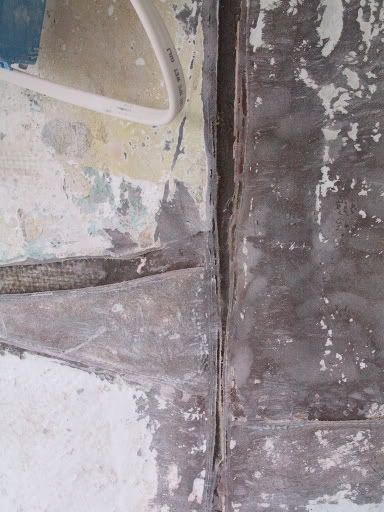 The junction of the settee back and bottom.
 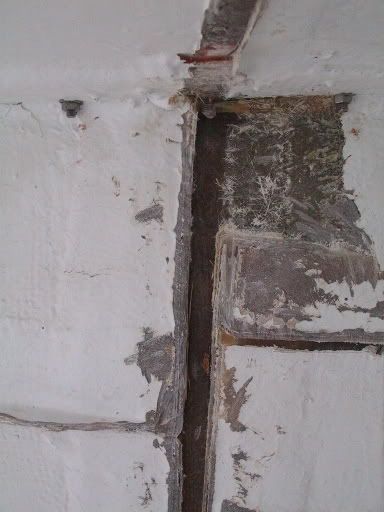 This is where the port bulkhead meets the overhead.
 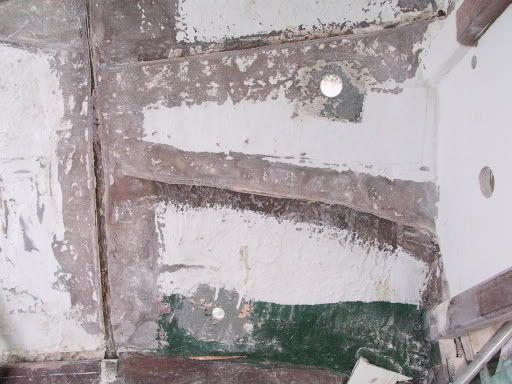 The two thruhull locations are visible here. The upper hole will be glassed over. The lower hole will be used for raw water intake to flush the head. Lake Michigan waters are "no discharge", so there will be no accomodation for overboard discharge in the system.
 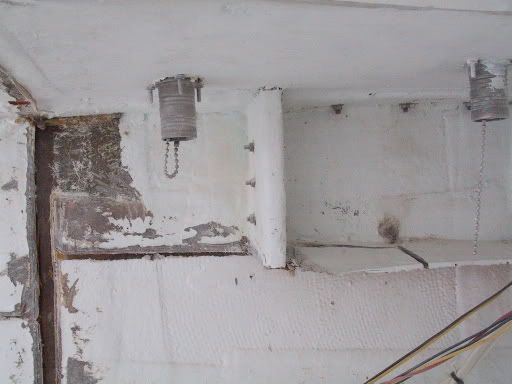 The aftermost chainplate tied into the tabbing for a shelf in the head compartment. For safety's sake, I will replace the shelf during the rebuild and add a few extra layers of fiberglass just to ensure an extra stout attachment.
No comments:
Post a Comment