Tuesday, July 16, 2013

Bulkhead Templates

This is a milestone for me - and for the project. I've actually begun reconstruction.

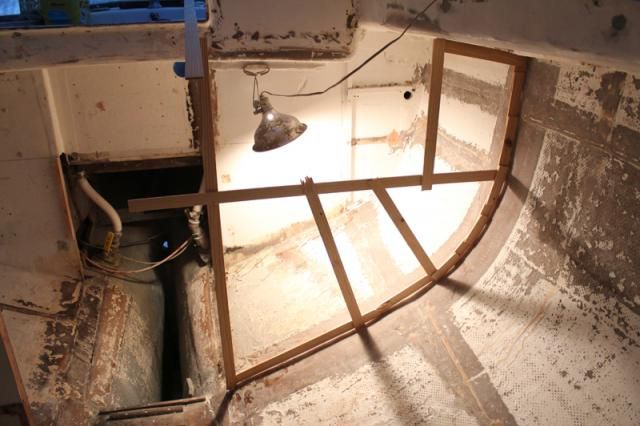
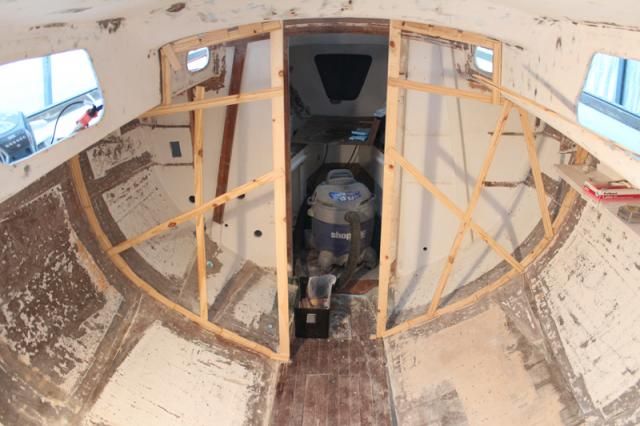
I created templates for the bulkheads that will define the head and hanging locker, and the galley/ice box area. These templates will be transferred to plywood, which will then be cut and fitted into place. It's exciting to see the interior beginning to take shape. Next step is to purchase the plywood - pricey!

Galley bulkhead template.

Head (port) and hanging locker templates.


Friday, July 12, 2013

Studs and Glass

I've been acquiring bits and pieces to take care of a few small issues before I can begin more major items like installing the stern tube and engine beds.

A couple of the engine mount studs were bent, so the other day I removed them and took one to a local store to match with threaded rod. Turns out I bought the wrong size - Standard instead of metric. I figured it out AFTER cutting four new studs.

No one local had the M12 1.75 threaded rod, so I ordered it and the nuts from McMaster-Carr. They ship out of their Chicago warehouse, so I had the pieces the next day.

I cut the new studs, cleaned up the ends, and threaded them into the mounts and locked them in place. I positioned all four studs evenly in their mounts and placed the lower stop nuts at 2-3/8" to establish a level position for the engine, leaving plenty of room to adjust the engine up or down as necessary later. One bit that's somewhat puzzling is that the engine mount flange dimensions/specs don't match the Westerbeke schematic. I planned to make a template of the engine based on the Westerbeke schematic, but it doesn't match the measurements I'm getting from the actual engine. It appears that the port forward isolator mount/flange is not the one indicated in the schematic. Whether or not it's original Westerbeke, I don't know, but the front mounts are a bit farther apart than indicated on the drawing.


In the process of doing all that, I was once again reminded of how careless a PO (or a professional) had been: one of the studs was not even the right size and wiggled in the engine mount.


The other task I completed was fiberglassing the bottom of the bilge under the engine. Months ago I had scraped and vacuumed out broken pieces of resin and cement that were part of Whitby's construction method for filling the lower portions of the bilge and preventing the ballast from moving aft (I suppose). I used blue sheathing foam cut to shape to bring the area above the cement even with the rest of the bilge. In fact, I actually sloped it forward a bit to prevent water from collecting at the very aft end of the bilge, where a pump wouldn't be able to get it out.


With that done, I wiped down the area with acetone - I'd already sanded it - and put in a 6" wide strip of biaxial cloth. The cloth wasn't wide enough at the forward end to come up the hull side more than a 1/2", so I cut three more lengths of cloth and placed them laterally across the bilge floor and well onto the sides of the hull.

With the bilge fiberglassed, I don't have to worry about any water soaking into the cement and any voids down there. Additionally, I can now install a garboard drain and use it periodically to rinse the interior of the hull after sanding. The best part of having it done is that I can now begin work on the engine beds and stern tube.
Monday, April 08, 2013

Instruments

Tradewinds came to me with Standard Horizon digital depth and speed, but the the speed transducer doesn't seem to be working and the depth transducer is MIA (although it could be stored with other A30 parts and I've just forgotten; at any rate, it's not installed).

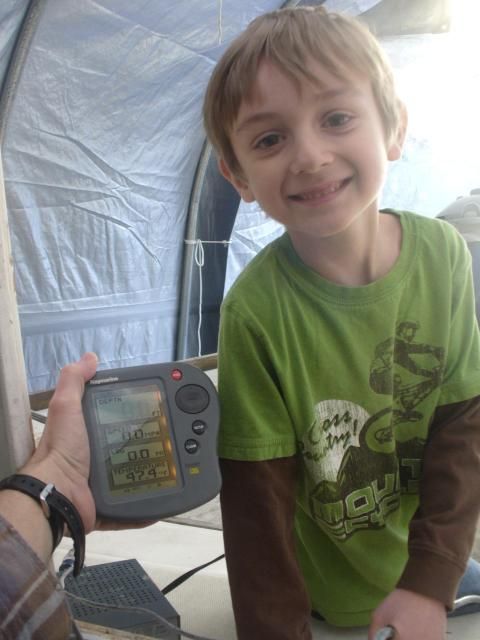
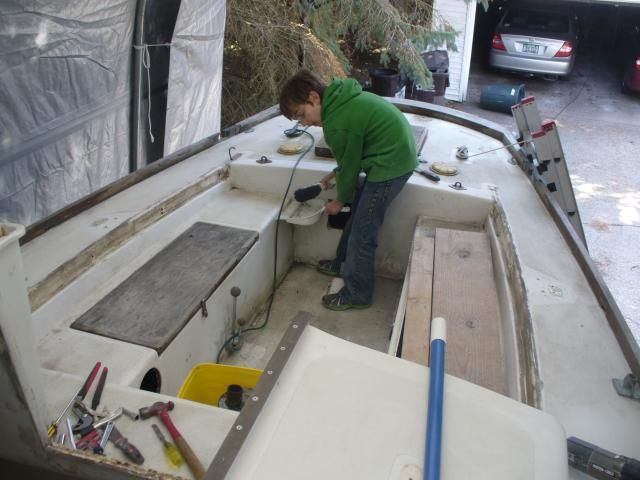
Even though reinstalling instruments is way, way down the line, I was thinking about what to do. I wasn't a big fan of the Raymarine fishfinder that someone installed on a super classy dashboard mount that used to jut from the cabin trunk, but I dug out the manual (thank goodness for a previous owner who kept everything) and discovered that it actually has some decent functions AND it can be flush mounted. Cool. I cleaned it up and took it out to the boat to see if it worked.

My younger son, always eager to help.

It does! And it's actually pretty cool. I don't like the fish finder screen much, but this data screen is perfect for sailing, showing depth, speed, log, and water temp. My eldest son (not pictured) spun the paddlewheel while I watched the screen for a reading. Amazingly, we hit nearly 6 kts in the driveway. So, it looks like this unit will be flush mounted on the rear of the cabin trunk when the time comes to put things back together. This little unit will save over $300, the cost of a relatively inexpensive Raymarine ST40 Bidata.

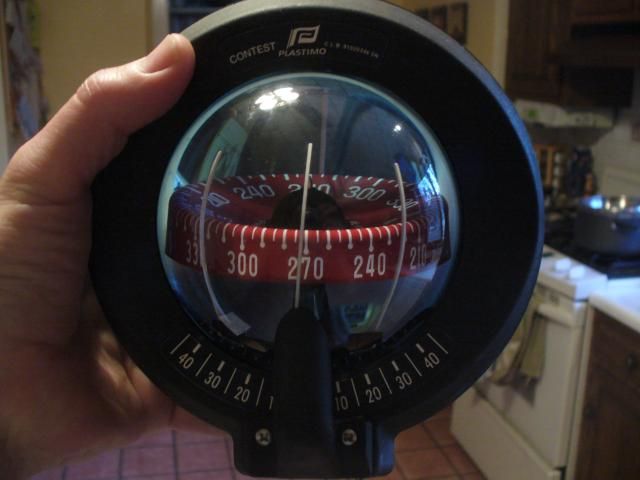
While I was feeling handy and seeing what I could do to make "old" instruments serviceable, I brought the compass in and cleaned it up. A large bubble had formed in the globe, and I just happened to have some Ritchie compass fluid on hand from servicing Ariel's compass a few years ago, so I took the thing apart, improvised a filler using a turkey syringe and part of a foam earplug, and refilled the fluid.


It worked! And the two lights work as well.

I also finished what I hope will be the final round of major sanding/grinding. Using a combination of angle grinder w/ flapper wheel and a 6" sander, I think I'm ready to call that part of the project DONE!


Sunday, April 07, 2013

Some Sanding and Stripping Parts

Things are moving right along now that I've been spending an hour here and there working on the boat. Previously, I felt that unless I was willing to do marathon-length efforts, it wasn't worth getting geared up. For new readers, this is what "geared up" looks like: full-face respirator, Tyvek suit, leather gloves, tape at the neck and wrists, and a 4-1/2" angle grinder.

To borrow wisdom from Tim Lackey, keeping things going - even if they're only small things - is important and actually accomplishes quite a bit over time. Sanding does seem to go on forever, however, but really it's not too bad.


I'm eager to get things ready for reconstruction. To that end, I used a 6" sander with 40 grit paper to knock off loose paint in the saloon, then switched to a 4" sander with 80 grit to do the overhead. It's tough to know just how much paint must be removed from the hull, but I think I'm just about there. Probably one more round of sanding should do it.


There are a few spots where the interior of the overhead is especially uneven. Those areas will need a little epoxy filler before painting. Such is the nature of an early 60s fiberglass sailboat.

I gave the interior a general cleaning when I finished sanding. I'm amazed at just how much dust I've generated. Sweeping down the hull sides produced several pounds of fine dust that looked like flour.

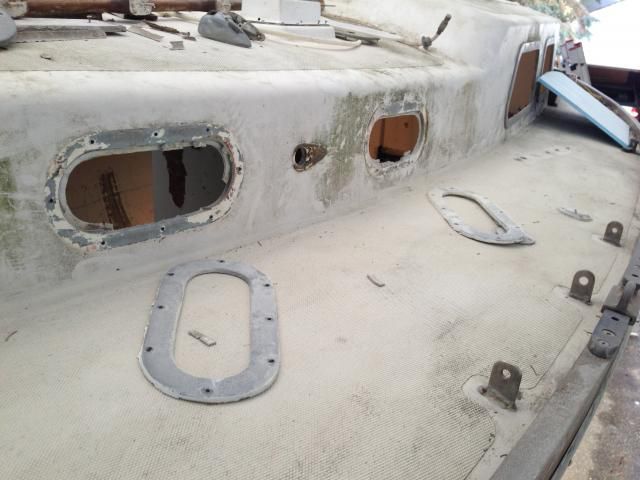
With the help of my son, I pulled the ports and frames, then cleaned the openings. Jake's a good little helper, and he scraped the old sealant from around the openings.


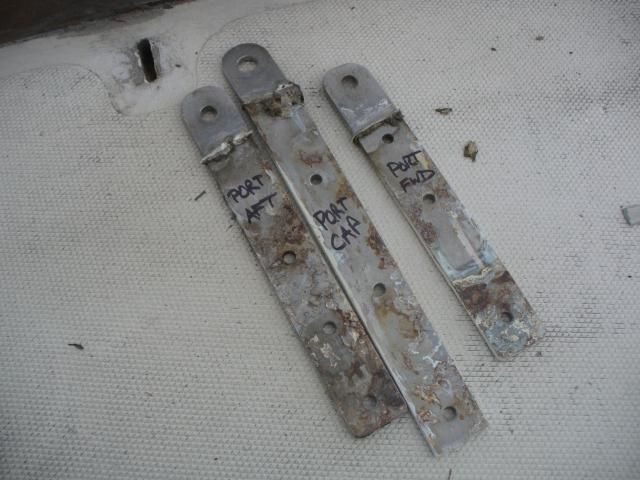
We pulled the chainplates as well. I'm not sure whether they're original or not, but they have not been upgraded, per the Alberg 30 site, to 5/16" shoulder bolts. The chainplate bolts are a known weak spot on these boats, so I'm surprised no one made the change in all these years. It was interesting to discover that although there were three fasteners on the port forward chainplate, there were only two holes in its partner on the starboard side. Odd. All of the chainplates will be cleaned up and the fastener holes enlarged before going back in with new 5/16" should bolts and backing plates.


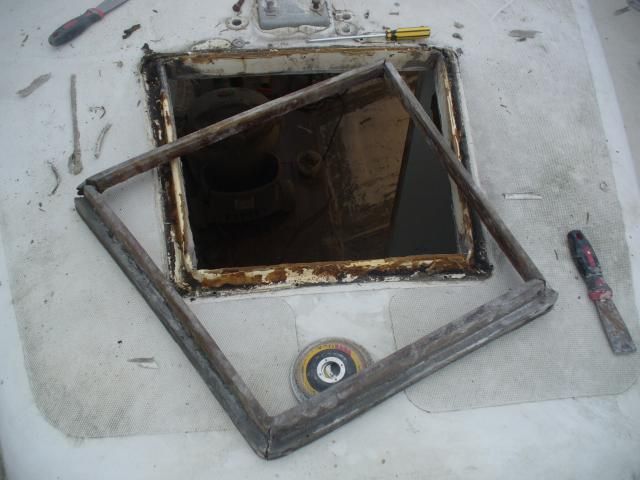
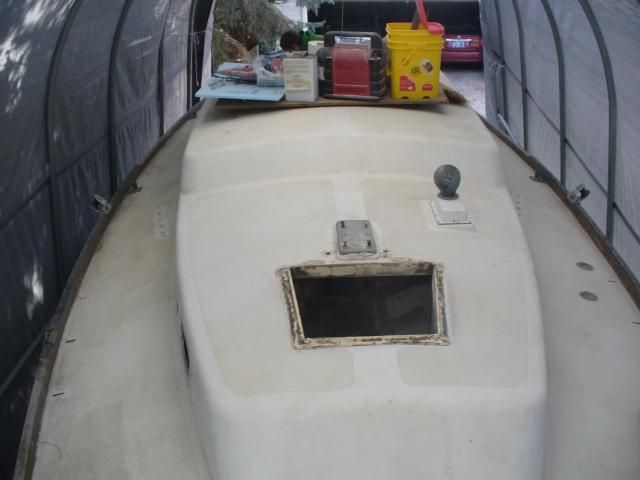
I've also removed the coamings, forward hatch and surround, and a few other odds and ends that would eventually have had to come off for deck refinishing.


I was pleased to discover that the original bronze stern tube was fairly easy to remove. I used a pipe wrench from inside the boat to unscrew the threaded aft end through the thickened epoxy Whitby used during construction. I then used a chisel to clear the old epoxy from the inside of the hole. It's clean and ready for the next step of using a new fiberglass stern tube when it comes time to install the engine and determine alignment.


Jake and I cleaned up before calling it a day. Jake did a fantastic job of sweeping and sprucing things up - and, in his own words, he had "the best day" helping his daddy.
 

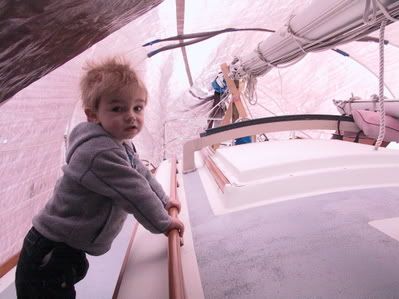
And here Jake is a few years ago helping me aboard our Cape Dory 36. Time sure does fly!


Sunday, March 31, 2013

Delaminated Tabbing & More Grinding

Grinding seems to go on and on. I cut out the remaining galley bulkhead then used my angle grinder with flapper wheel to smooth and grind tabbing remnants throughout the cabin. Nothing too fun about that. Dust, dust, and more dust.


I also removed the original engine beds and ground the tabbing smooth in that area.


While poking around in the cabin, I noticed that some of the original tabbing on the main bulkheads that support the mast beam seemed to have delaminated a bit. I really wasn't sure just how extensive the issue was, but I decided that it was best to continue the mess and finish all the grinding in one mega-round than to have to keep making dusty messes. I ground the tabbing in several suspect areas, and in some cases had to grind it completely down to the bulkhead because it was dry and delaminated.


Once all the surfaces are prepped, I'll add new tabbing to secure the joint.

Friday, March 22, 2013

More Destruction

I seem to be good at demolition. Let's hope I can manage some reconstruction at some point.

After making some decisions about water tankage and placement, I decided to go ahead and remove the starboard settee - the port settee had already been removed by a previous owner - in order to have port and starboard settees match each other. With the water tank I have on hand for the port settee, the new berth will have to sit higher than the original, so I figured I may as well double the capacity (from 18 gallons to 36) by adding a matching water tank under the starboard settee.

I hate to make more of a mess, but rebuilding the starboard settee as well has a couple benefits beyond matching the port side: 1) I won't have to scarf new material to the existing stubs of door jamb; 2) I won't have unnecessary holes from old equipment and hoses to contend with or repair; 3) I can do a better job of making the access hatches in the backrest of the settee than a PO had done; 4) starting from scratch will make installation of the forward bulkhead easier.

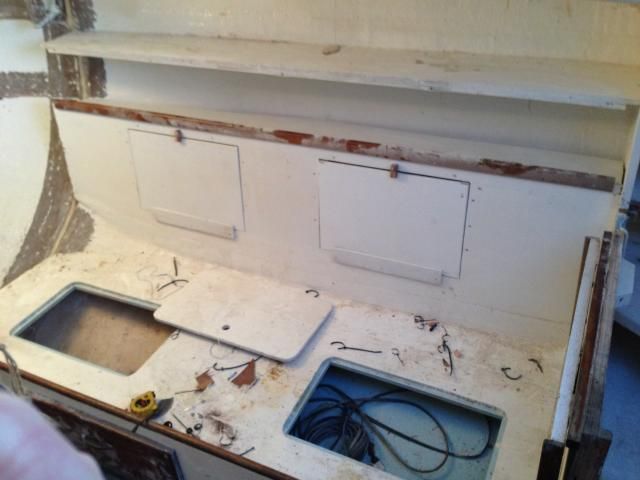
Here's the starboard settee before destruction:

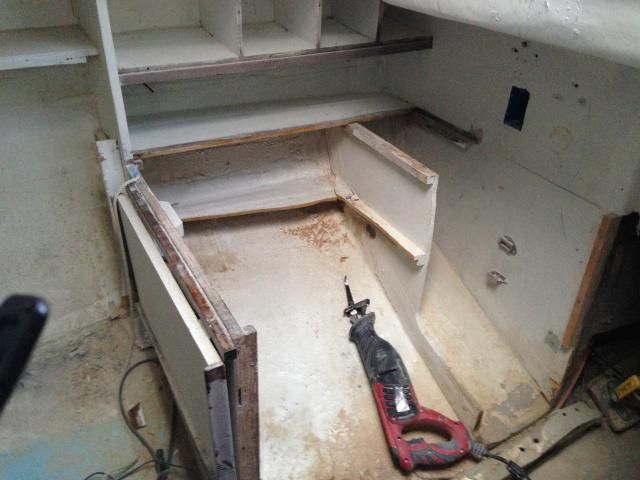
I used a Sawzall for the first time on this project, and it made the work go much faster. Previously, I've used an angle grinder and cutoff wheel to cut the fiberglass tabbing. The Sawzall worked a hundred times better than the cutoff wheel, and it creates much less mess.

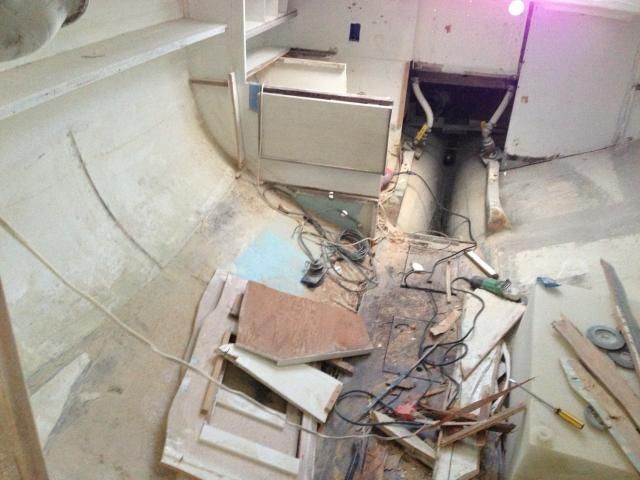
Settee gone!

I started working on removing shelving and a bulkhead in the area of the galley, but my Sawzall blade was just too dull. I'll be leaving the main galley bulkhead in place, but I'll remove the shelf, small bulkhead, and the galley-top remnant visible in the picture.

A PO carved out the intermediate bulkhead, so I'll remove it completely.