Showing posts with label stern tube. Show all posts

Friday, July 08, 2016

Prop shaft prep

Between five-hour trips (each way) back and forth to Northport to sort out Ariel's transmission issue, I managed to do a little work on the Alberg.

I spent a couple hours yesterday confirming measurements for the new prop shaft and sent a drawing and specifications to Marine Machining and Manufacturing here in Michigan. I'd gotten a quote some time ago from a place out of state that was about $200 more than the quote from the shop here, so I was happy to find a better price for the same service/product. The new shaft and coupling - faced, aligned, and spotted for the set screws - should come in right around $320 for a 1" SS shaft.


Sorting out the shaft length was made more stressful, however, when I tried to explain to the shop that I needed the propeller to end up somewhere between 27-1/4" to 27-1/2" from the coupling face, something that is apparently more difficult than it seems. I was told that determining where the prop will sit on the taper is a bit of a guessing game, which I can understand, but it would seem like it would be fairly straightforward to get close since the tapers should be standard. At any rate, the reason I need the prop to sit at that distance is because that's the "sweet spot" in the aperture where the rudder can swing stop to stop and the prop blades remain well clear. Too far forward or too far aft, and the blades will start shaving pieces off the rudder aperture. This prop, by the way, is a 13x9R fixed, three blade. Since I never sea trialed the boat, I don't know if the prop is even a good match for the engine. By accounts online and a few conversations with other owners and a shop, it sounds like it's close, though.
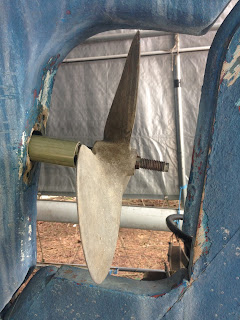
The propeller in its "sweet spot" and the fiberglass stern tube.
I also called Hamilton Marine and got the correct cutless bearing on its way (they'd previously shipped the wrong bearing). Once that and the new shaft arrive, I'll be able to set the stern tube and finalize the engine position.

To that end, once I'd gotten the measurements I needed for the prop, I made a few marks on the engine foundations where the transmission cooling hoses were rubbing. I then rigged up my hoist and lifted the engine off the beds and set it in the cockpit. I took an angle grinder with a flapper wheel to the two areas to carve out reliefs for clearance, then covered the areas with two layers of cloth. I also cleaned up the front ends of the beds and wrapped each with a layer of cloth to seal the corners.


Spurred by my frustration with Ariel's cramped engine installation, I double checked the angle of my install. The Westerbeke is rated for no more than a 14 degree installation. I did my best to keep the engine as flat as possible, but I was forced to work with the angle of the hole in the deadwood. Even so, the engine sits at 10.4 degrees. If I can coax it any lower when I finalize the stern tube installation, I will, provided I still have enough room on the flexible mounts for in-water alignment.


That's it for now. It's humid as all get out here, and I have to head back to Northport to install Ariel's new transmission, which should arrive later today. Fingers crossed. It'll be nice to have her back in service.

Sunday, September 13, 2015

Engine bed prep

With an hour or so free this evening, I began feeling my way through the initial stages of the engine installation. I honestly have very little clue what I'm doing. Following encouragement and some expertise from a knowledgeable source, I proceeded with my plan to use a length of the stern tube material I'd purchased, capped with two wooden plugs, to begin determining the centerline of the prop shaft and engine. The picture below doesn't show the string rigged through the center of the plug, but it provides an idea of what I did.


The idea is to secure a string in the center of the wooden plug, run the string through the stern tube and out the center of a matching wooden plug on the forward end of the tube. The string is then run down the centerline of the boat, drawn taut, and secured. Having established the centerline, the tube and string are then adjusted vertically to achieve an angle that does not exceed the recommended angle listed for the engine, a Westerbeke 20B (which happens to be 14 degrees) - all the while adding shims and hot glue to hold the stern tube in place.

Once I'd experimented with a couple of angles and my engine mockup, I set the string to an angle of just under 10 degrees - 9.2, actually - that seemed to give the rear engine mounts a little more room at the narrow portion of the aft bilge. I transferred the pitch and level of the string to the engine box panels, then drew a line on each to indicate the attachment point for cleats that would support the engine mockup while I took measurements for the engine beds.


With the cleats mounted, I rested the template on two 1/2" pieces of plywood running laterally and eyeballed the arrangement. Alignment looks pretty good, but I'm concerned that the rear engine mounts are too close to the hull; I need enough material under them to thread a mounting bolt into. I could get more room under them by adjusting them up, but I centered all of the mounts so that I'd have adjustment room up and down. I don't want to lose that for fine tuning. The other option is to move the whole engine forward, but I don't want to do that either because the engine will already be pretty far forward in the compartment. Anyway, feeling a bit hurried (and uncertain), I decided it was time to quit and let things percolate. I'll take a fresh look at it later this week and see if I've arrived at a clearer idea of what I need to do.


Sunday, April 07, 2013

Some Sanding and Stripping Parts

Things are moving right along now that I've been spending an hour here and there working on the boat. Previously, I felt that unless I was willing to do marathon-length efforts, it wasn't worth getting geared up. For new readers, this is what "geared up" looks like: full-face respirator, Tyvek suit, leather gloves, tape at the neck and wrists, and a 4-1/2" angle grinder.

To borrow wisdom from Tim Lackey, keeping things going - even if they're only small things - is important and actually accomplishes quite a bit over time. Sanding does seem to go on forever, however, but really it's not too bad.


I'm eager to get things ready for reconstruction. To that end, I used a 6" sander with 40 grit paper to knock off loose paint in the saloon, then switched to a 4" sander with 80 grit to do the overhead. It's tough to know just how much paint must be removed from the hull, but I think I'm just about there. Probably one more round of sanding should do it.


There are a few spots where the interior of the overhead is especially uneven. Those areas will need a little epoxy filler before painting. Such is the nature of an early 60s fiberglass sailboat.

I gave the interior a general cleaning when I finished sanding. I'm amazed at just how much dust I've generated. Sweeping down the hull sides produced several pounds of fine dust that looked like flour.

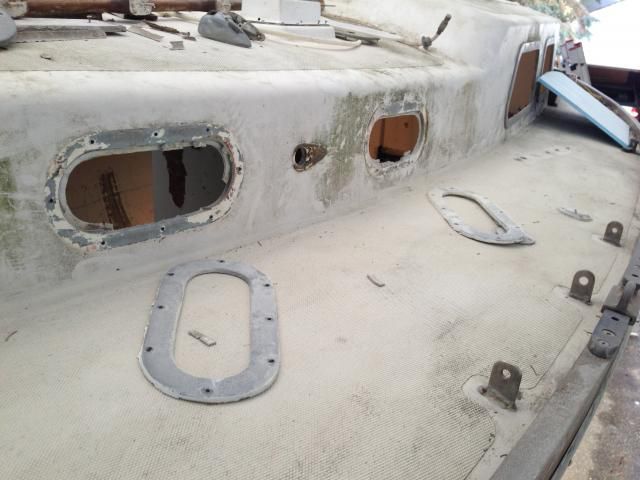
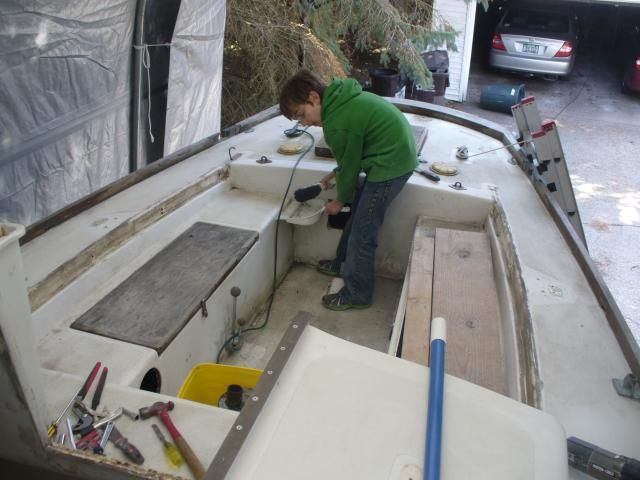
With the help of my son, I pulled the ports and frames, then cleaned the openings. Jake's a good little helper, and he scraped the old sealant from around the openings.


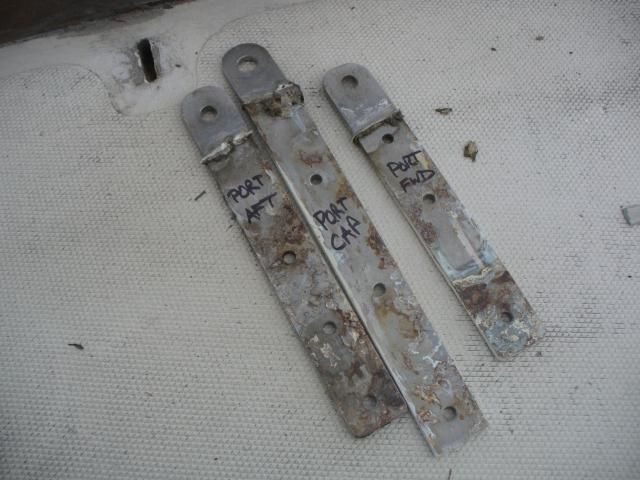
We pulled the chainplates as well. I'm not sure whether they're original or not, but they have not been upgraded, per the Alberg 30 site, to 5/16" shoulder bolts. The chainplate bolts are a known weak spot on these boats, so I'm surprised no one made the change in all these years. It was interesting to discover that although there were three fasteners on the port forward chainplate, there were only two holes in its partner on the starboard side. Odd. All of the chainplates will be cleaned up and the fastener holes enlarged before going back in with new 5/16" should bolts and backing plates.


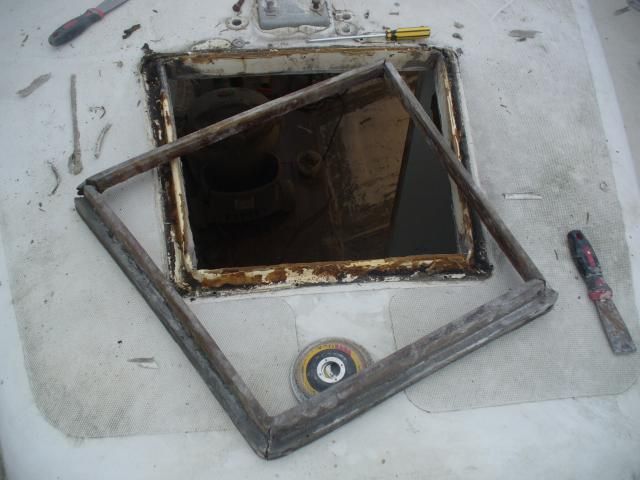
I've also removed the coamings, forward hatch and surround, and a few other odds and ends that would eventually have had to come off for deck refinishing.


I was pleased to discover that the original bronze stern tube was fairly easy to remove. I used a pipe wrench from inside the boat to unscrew the threaded aft end through the thickened epoxy Whitby used during construction. I then used a chisel to clear the old epoxy from the inside of the hole. It's clean and ready for the next step of using a new fiberglass stern tube when it comes time to install the engine and determine alignment.


Jake and I cleaned up before calling it a day. Jake did a fantastic job of sweeping and sprucing things up - and, in his own words, he had "the best day" helping his daddy.
 

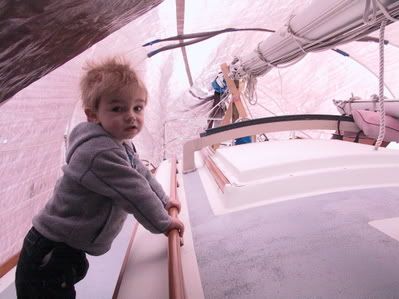
And here Jake is a few years ago helping me aboard our Cape Dory 36. Time sure does fly!