
To borrow wisdom from Tim Lackey, keeping things going - even if they're only small things - is important and actually accomplishes quite a bit over time. Sanding does seem to go on forever, however, but really it's not too bad.
I'm eager to get things ready for reconstruction. To that end, I used a 6" sander with 40 grit paper to knock off loose paint in the saloon, then switched to a 4" sander with 80 grit to do the overhead. It's tough to know just how much paint must be removed from the hull, but I think I'm just about there. Probably one more round of sanding should do it.

There are a few spots where the interior of the overhead is especially uneven. Those areas will need a little epoxy filler before painting. Such is the nature of an early 60s fiberglass sailboat.
I gave the interior a general cleaning when I finished sanding. I'm amazed at just how much dust I've generated. Sweeping down the hull sides produced several pounds of fine dust that looked like flour.
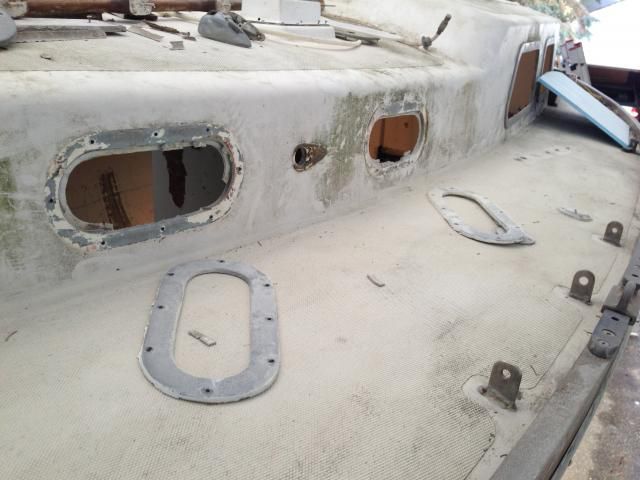
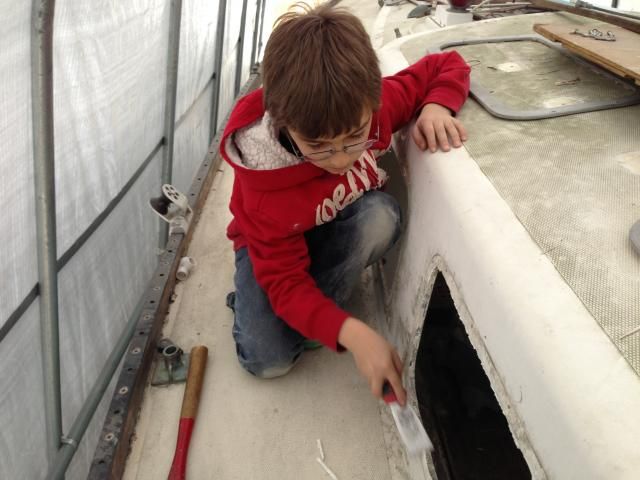
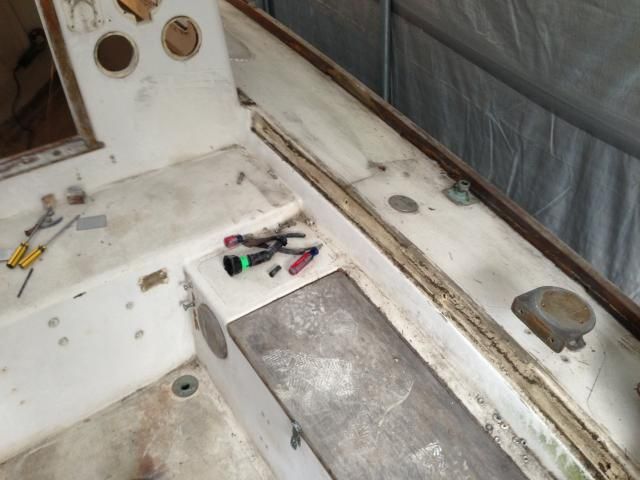
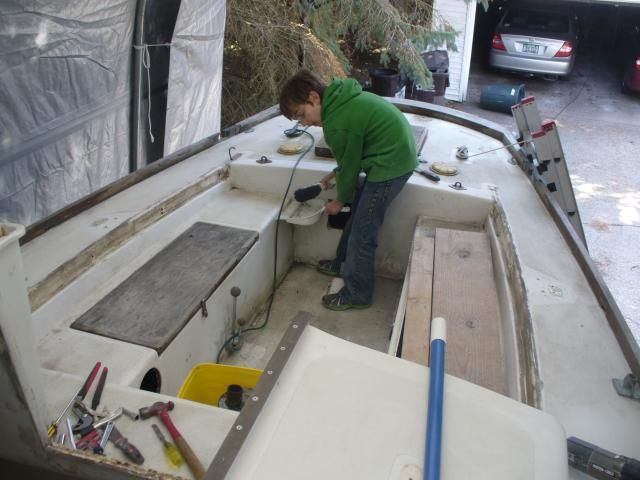
With the help of my son, I pulled the ports and frames, then cleaned the openings. Jake's a good little helper, and he scraped the old sealant from around the openings.
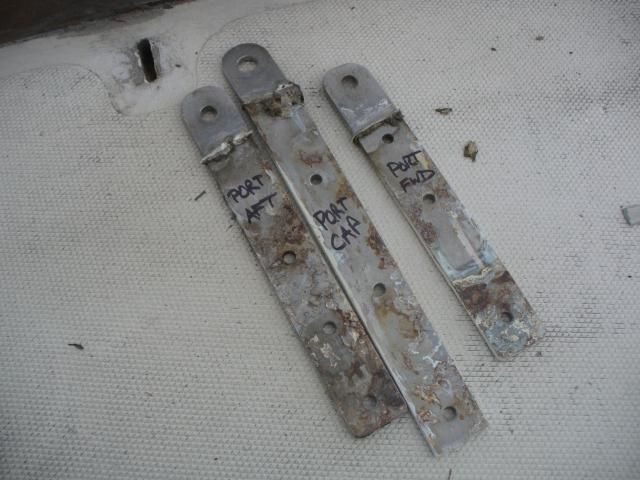
We pulled the chainplates as well. I'm not sure whether they're original or not, but they have not been upgraded, per the Alberg 30 site, to 5/16" shoulder bolts. The chainplate bolts are a known weak spot on these boats, so I'm surprised no one made the change in all these years. It was interesting to discover that although there were three fasteners on the port forward chainplate, there were only two holes in its partner on the starboard side. Odd. All of the chainplates will be cleaned up and the fastener holes enlarged before going back in with new 5/16" should bolts and backing plates.

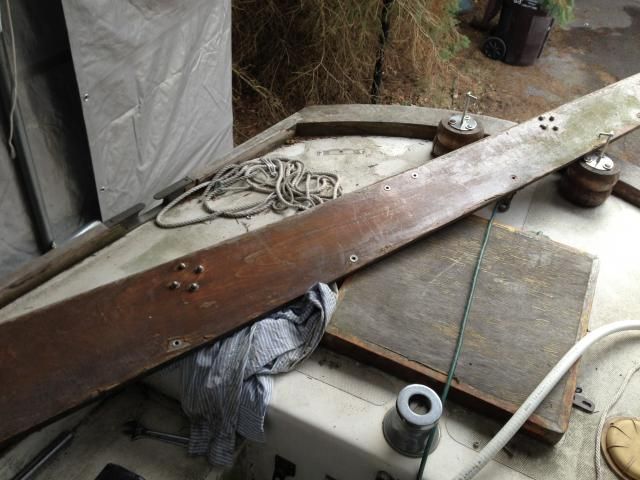
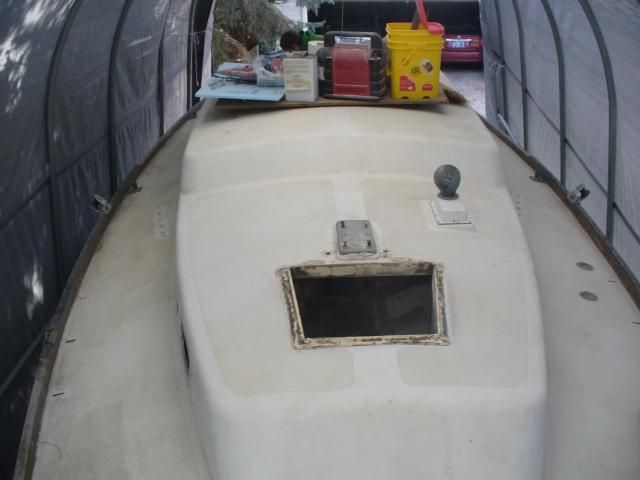
I've also removed the coamings, forward hatch and surround, and a few other odds and ends that would eventually have had to come off for deck refinishing.

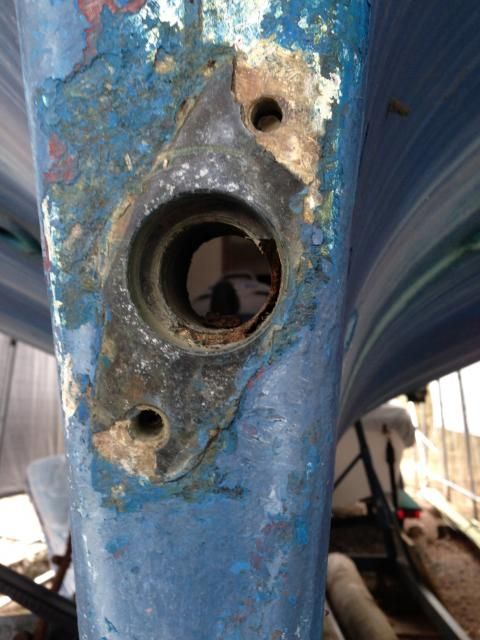
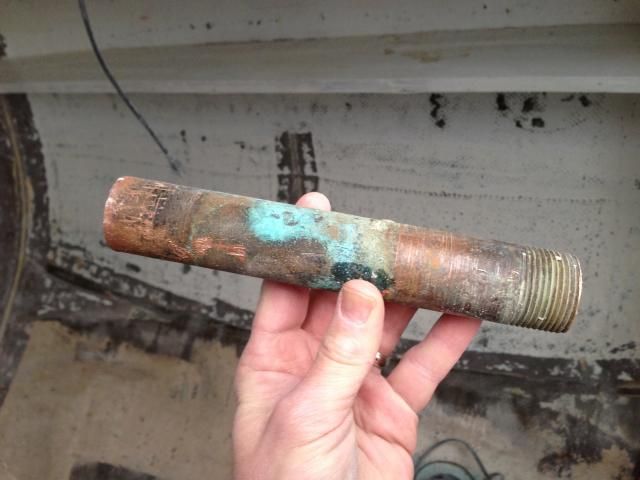
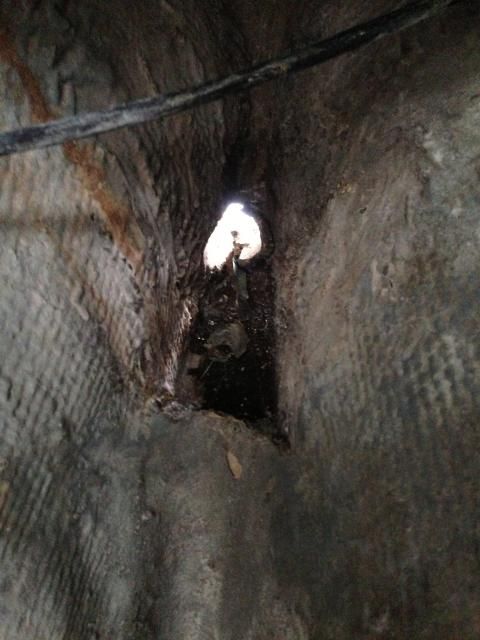
I was pleased to discover that the original bronze stern tube was fairly easy to remove. I used a pipe wrench from inside the boat to unscrew the threaded aft end through the thickened epoxy Whitby used during construction. I then used a chisel to clear the old epoxy from the inside of the hole. It's clean and ready for the next step of using a new fiberglass stern tube when it comes time to install the engine and determine alignment.
Jake and I cleaned up before calling it a day. Jake did a fantastic job of sweeping and sprucing things up - and, in his own words, he had "the best day" helping his daddy.

We pulled the chainplates as well. I'm not sure whether they're original or not, but they have not been upgraded, per the Alberg 30 site, to 5/16" shoulder bolts. The chainplate bolts are a known weak spot on these boats, so I'm surprised no one made the change in all these years. It was interesting to discover that although there were three fasteners on the port forward chainplate, there were only two holes in its partner on the starboard side. Odd. All of the chainplates will be cleaned up and the fastener holes enlarged before going back in with new 5/16" should bolts and backing plates.
I've also removed the coamings, forward hatch and surround, and a few other odds and ends that would eventually have had to come off for deck refinishing.
I was pleased to discover that the original bronze stern tube was fairly easy to remove. I used a pipe wrench from inside the boat to unscrew the threaded aft end through the thickened epoxy Whitby used during construction. I then used a chisel to clear the old epoxy from the inside of the hole. It's clean and ready for the next step of using a new fiberglass stern tube when it comes time to install the engine and determine alignment.
Jake and I cleaned up before calling it a day. Jake did a fantastic job of sweeping and sprucing things up - and, in his own words, he had "the best day" helping his daddy.
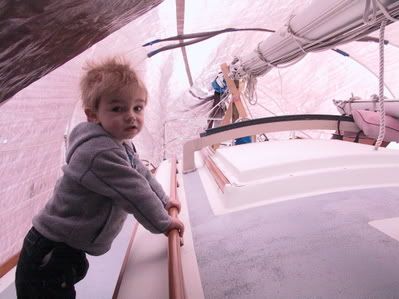
And here Jake is a few years ago helping me aboard our Cape Dory 36. Time sure does fly!
2 comments:
It's good you involve your son in the work on the boat too. I hope to do the same if/when I have kids of my own.
Nice work on the rebuild.
Dan,
Sadly, there's not more work for them! So much of the rebuild involves nasty dust and unhealthy fumes. I wish I had more to involve them. Thanks for stopping by.
Post a Comment