By the way, it may sound odd to some that I bought this boat 10 years ago and didn't do much with it during that time. I suppose it is a little silly to buy a boat and let it sit, but Tradewinds was purchased as a project; we already have Ariel, a Cape Dory 36, which I've been sailing and maintaining for over 12 years now. I imagine I would have been moving a lot faster on Tradewinds had we not had Ariel. Owning and maintaining one boat is enough work, so it's not too surprising that the project languished. I started it up in earnest this summer for the reason(s) mentioned in the video.
Showing posts with label alberg 30. Show all posts
Showing posts with label alberg 30. Show all posts
Friday, November 27, 2015
Slow day: Making videos
Sort of a slow, relaxing day around here, so I decided to put together a brief video highlighting some of my progress on Tradewinds. Not sure that this kind of video is my thing, but I thought I'd give it a go. I always enjoy boat videos, especially when winter rolls around. Maybe some others do, too. :)
By the way, it may sound odd to some that I bought this boat 10 years ago and didn't do much with it during that time. I suppose it is a little silly to buy a boat and let it sit, but Tradewinds was purchased as a project; we already have Ariel, a Cape Dory 36, which I've been sailing and maintaining for over 12 years now. I imagine I would have been moving a lot faster on Tradewinds had we not had Ariel. Owning and maintaining one boat is enough work, so it's not too surprising that the project languished. I started it up in earnest this summer for the reason(s) mentioned in the video.
By the way, it may sound odd to some that I bought this boat 10 years ago and didn't do much with it during that time. I suppose it is a little silly to buy a boat and let it sit, but Tradewinds was purchased as a project; we already have Ariel, a Cape Dory 36, which I've been sailing and maintaining for over 12 years now. I imagine I would have been moving a lot faster on Tradewinds had we not had Ariel. Owning and maintaining one boat is enough work, so it's not too surprising that the project languished. I started it up in earnest this summer for the reason(s) mentioned in the video.
Sunday, April 07, 2013
Some Sanding and Stripping Parts
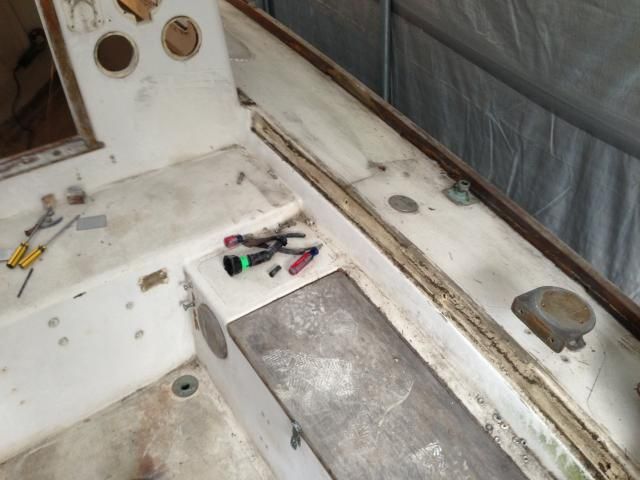
Things are moving right along now that I've been spending an hour here and there working on the boat. Previously, I felt that unless I was willing to do marathon-length efforts, it wasn't worth getting geared up. For new readers, this is what "geared up" looks like: full-face respirator, Tyvek suit, leather gloves, tape at the neck and wrists, and a 4-1/2" angle grinder.


To borrow wisdom from Tim Lackey, keeping things going - even if they're only small things - is important and actually accomplishes quite a bit over time. Sanding does seem to go on forever, however, but really it's not too bad.
I'm eager to get things ready for reconstruction. To that end, I used a 6" sander with 40 grit paper to knock off loose paint in the saloon, then switched to a 4" sander with 80 grit to do the overhead. It's tough to know just how much paint must be removed from the hull, but I think I'm just about there. Probably one more round of sanding should do it.
There are a few spots where the interior of the overhead is especially uneven. Those areas will need a little epoxy filler before painting. Such is the nature of an early 60s fiberglass sailboat.
I gave the interior a general cleaning when I finished sanding. I'm amazed at just how much dust I've generated. Sweeping down the hull sides produced several pounds of fine dust that looked like flour.
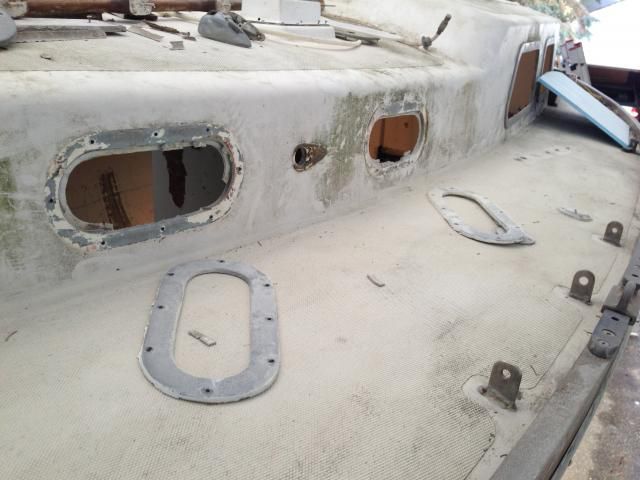
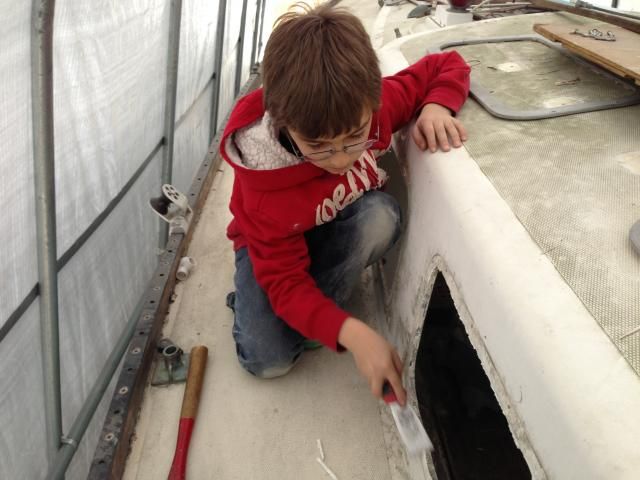
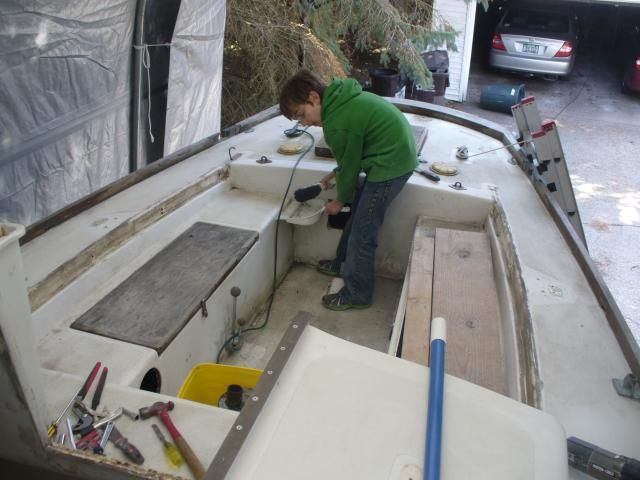
With the help of my son, I pulled the ports and frames, then cleaned the openings. Jake's a good little helper, and he scraped the old sealant from around the openings.
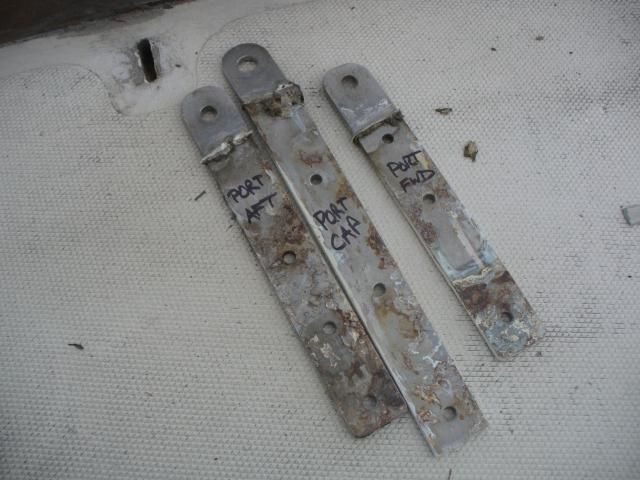
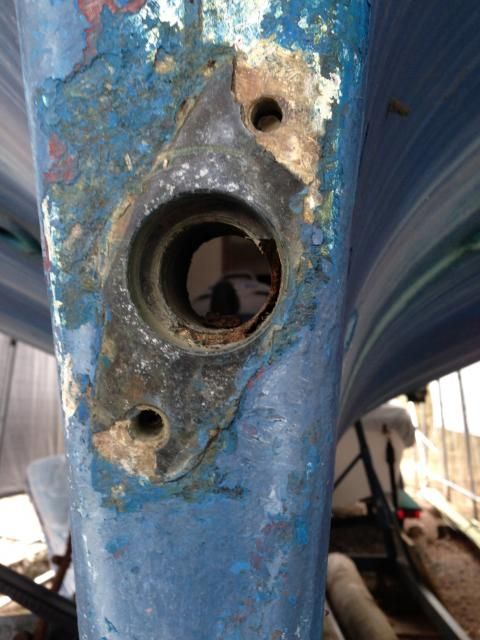
We pulled the chainplates as well. I'm not sure whether they're original or not, but they have not been upgraded, per the Alberg 30 site, to 5/16" shoulder bolts. The chainplate bolts are a known weak spot on these boats, so I'm surprised no one made the change in all these years. It was interesting to discover that although there were three fasteners on the port forward chainplate, there were only two holes in its partner on the starboard side. Odd. All of the chainplates will be cleaned up and the fastener holes enlarged before going back in with new 5/16" should bolts and backing plates.

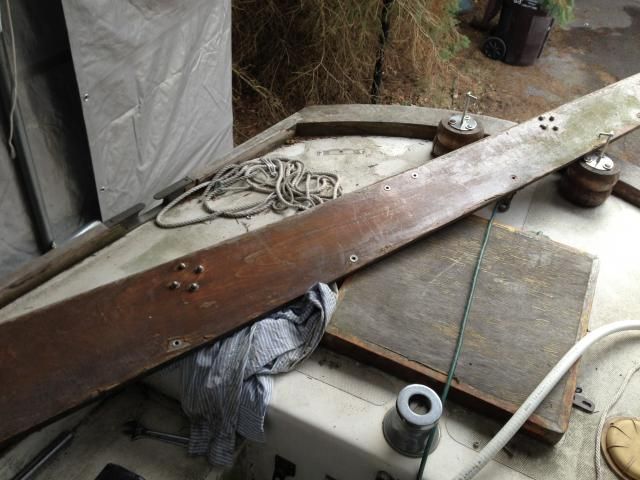
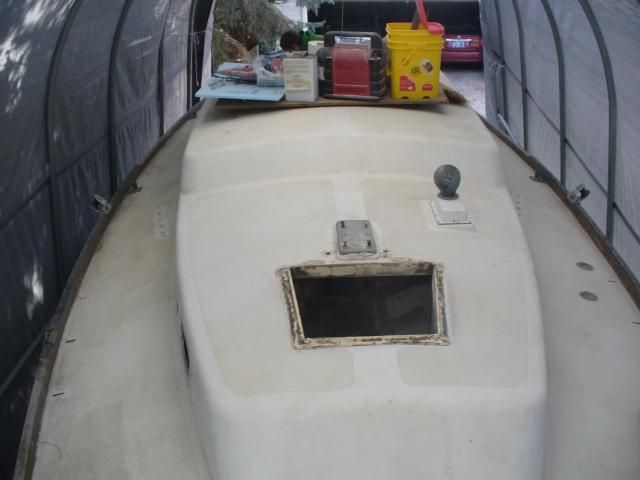
I've also removed the coamings, forward hatch and surround, and a few other odds and ends that would eventually have had to come off for deck refinishing.

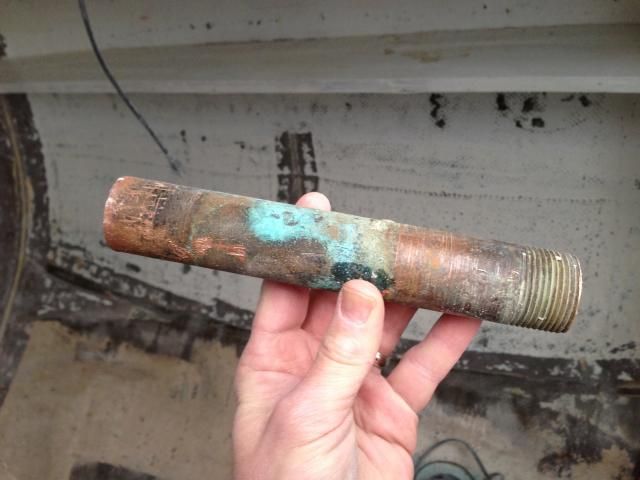
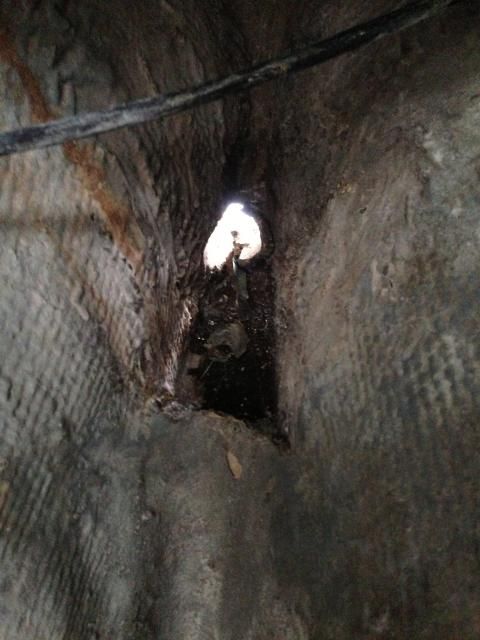
I was pleased to discover that the original bronze stern tube was fairly easy to remove. I used a pipe wrench from inside the boat to unscrew the threaded aft end through the thickened epoxy Whitby used during construction. I then used a chisel to clear the old epoxy from the inside of the hole. It's clean and ready for the next step of using a new fiberglass stern tube when it comes time to install the engine and determine alignment.
Jake and I cleaned up before calling it a day. Jake did a fantastic job of sweeping and sprucing things up - and, in his own words, he had "the best day" helping his daddy.

We pulled the chainplates as well. I'm not sure whether they're original or not, but they have not been upgraded, per the Alberg 30 site, to 5/16" shoulder bolts. The chainplate bolts are a known weak spot on these boats, so I'm surprised no one made the change in all these years. It was interesting to discover that although there were three fasteners on the port forward chainplate, there were only two holes in its partner on the starboard side. Odd. All of the chainplates will be cleaned up and the fastener holes enlarged before going back in with new 5/16" should bolts and backing plates.
I've also removed the coamings, forward hatch and surround, and a few other odds and ends that would eventually have had to come off for deck refinishing.
I was pleased to discover that the original bronze stern tube was fairly easy to remove. I used a pipe wrench from inside the boat to unscrew the threaded aft end through the thickened epoxy Whitby used during construction. I then used a chisel to clear the old epoxy from the inside of the hole. It's clean and ready for the next step of using a new fiberglass stern tube when it comes time to install the engine and determine alignment.
Jake and I cleaned up before calling it a day. Jake did a fantastic job of sweeping and sprucing things up - and, in his own words, he had "the best day" helping his daddy.
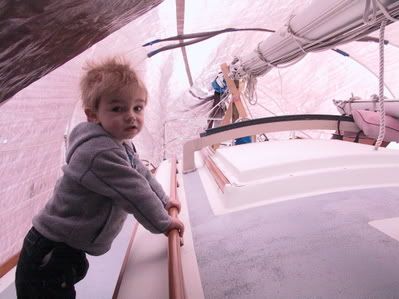
And here Jake is a few years ago helping me aboard our Cape Dory 36. Time sure does fly!
Sunday, March 31, 2013
Delaminated Tabbing & More Grinding
Grinding seems to go on and on. I cut out the remaining galley bulkhead then used my angle grinder with flapper wheel to smooth and grind tabbing remnants throughout the cabin. Nothing too fun about that. Dust, dust, and more dust.


I also removed the original engine beds and ground the tabbing smooth in that area.
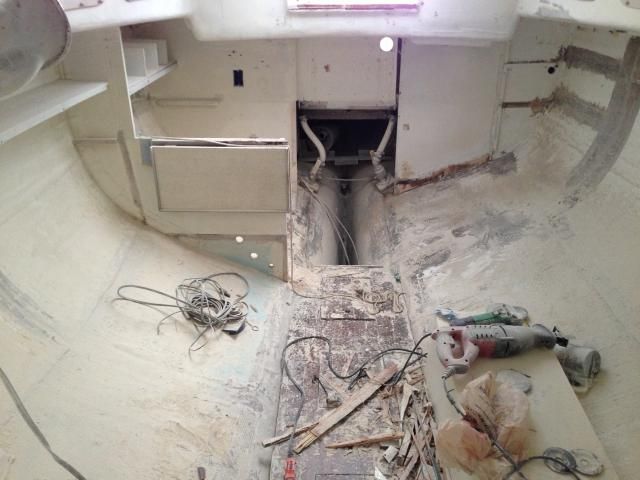
While poking around in the cabin, I noticed that some of the original tabbing on the main bulkheads that support the mast beam seemed to have delaminated a bit. I really wasn't sure just how extensive the issue was, but I decided that it was best to continue the mess and finish all the grinding in one mega-round than to have to keep making dusty messes. I ground the tabbing in several suspect areas, and in some cases had to grind it completely down to the bulkhead because it was dry and delaminated.


I also removed the original engine beds and ground the tabbing smooth in that area.
While poking around in the cabin, I noticed that some of the original tabbing on the main bulkheads that support the mast beam seemed to have delaminated a bit. I really wasn't sure just how extensive the issue was, but I decided that it was best to continue the mess and finish all the grinding in one mega-round than to have to keep making dusty messes. I ground the tabbing in several suspect areas, and in some cases had to grind it completely down to the bulkhead because it was dry and delaminated.
Once all the surfaces are prepped, I'll add new tabbing to secure the joint.
Subscribe to:
Posts (Atom)