Showing posts with label engine foundations. Show all posts

Sunday, November 01, 2015

Engine foundations capped and glassed

With temperatures in the high 50s for the day and creeping into the 60s for the next week, I made it my goal to get the 1/2" G10 caps epoxied atop the engine foundations and covered in glass.

I began by water washing the previous round of fiberglass. I then trimmed the rough edges where fiberglass ran off the foundations and gave everything a quick sanding before cleaning up and wiping the surfaces with acetone. Once that was done I cut the 3" wide 1/2" G10 strips to length, sanded all surfaces with 60 grit, beveled the top edges, and trimmed a corner off of each to fit the angle of the hull. I then applied a thin layer of neat epoxy to the foundations before setting both strips in a bed of thickened epoxy, making sure that epoxy oozed out of the edges. I temporarily screwed both strips to the foundations while the epoxy gelled and used a scraper to form the excess epoxy into a sort of fillet that provided a smooth transition between the foundation and the G10 strips.

I cut several pieces of biaxial cloth and plain woven cloth while the epoxy partially cured, then removed the screws and covered both strips and the front edges of the foundations with biaxial and a final layer of cloth to give it a smoother finish.


While the epoxy cured, I decided it was time to get the engine back aboard so I can eventually set it in place and install the stern tube. Additionally, I'd like to have the engine in place while I create the engine box to ensure that everything is going to fit. My rough measurements suggest it will, but I'd like to be sure about the sloping forward edge of the engine compartment, so that means having the engine positioned first.

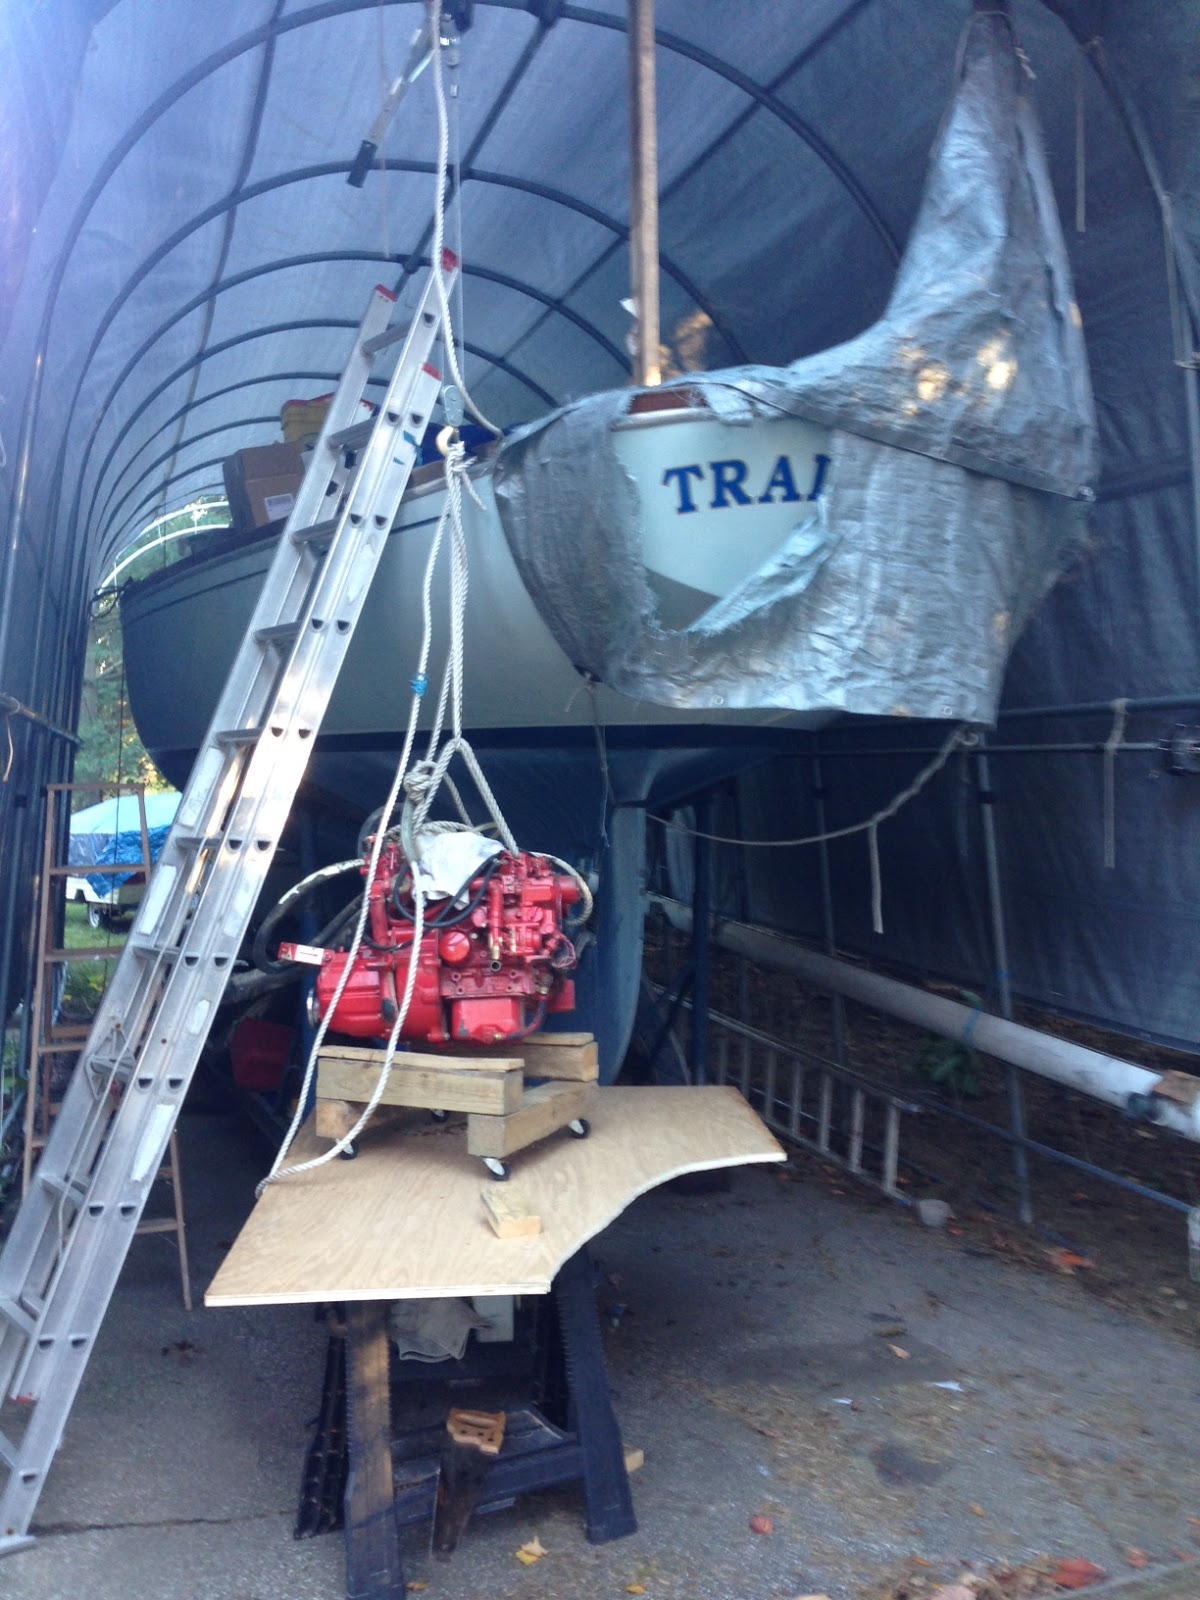
Although the little Westerbeke 20B Two only weighs about 225, it's a heavy little booger. I used a little trailer and my riding mower to get the engine from the garage to the boat, then rigged a come along to the boat shed (after adding additional support to the structure) and hoisted the thing aboard, setting it back atop its wheeled cart for the time being. Once the beds are cured, sanded and painted, I'll set the engine in place and begin constructing the engine box and setting the stern tube.


Monday, October 12, 2015

Engine foundations glassed

I began this morning by giving the epoxy a water wash, then sanded the area to prepare for fiberglassing. I prepared the area by wiping it down with acetone, then used plastic pattern material to create patterns for the fiberglass cloth. I transferred the patterns to biaxial and cut enough to apply two layers to both the inside and outside of the foundations. The process went well and I'm pleased to have the foundations glassed in place. A fellow Alberg-er has picked up some 1/2" G10 strips for me that I'll epoxy on top of the foundations and then glass them in place. Things are moving along.

Cleaned and ready for glass

Two layers of glass inside and out 


Sunday, October 11, 2015

Engine foundations in

I swear those boat repair/restoration specialists make it look A LOT easier! After a whole bunch of sanding and cutting - and head scratching - I got the two engine foundation blanks shaped and ready to epoxy in place.

I started the day by cutting the 12"x48" laminated plywood for the engine foundations in half, thinking that I'd get a blank out of each 12"x24" piece. After making all of the necessary cut marks, I trimmed the piece to size and realized that the geometry was such that I could actually get two foundations out of one 12"x24" section. I was a little disappointed that I'd cut up more of my marine ply than necessary, but at the same time I was reassured to know that I had enough to make a second set if I managed to make a serious mistake with the first go.

With my first blank cut to the approximate size, I trimmed and sanded as necessary to get the piece to fit  well with the contours of the hull. Once the port foundation was fitting nicely, I repeated the procedure on the starboard side. Both foundations trimmed, I coated the exposed edges of the plywood with neat epoxy before setting the foundations in a bed of thickened epoxy.

I left the foundations to cure overnight. Tomorrow I'm hoping to get a few layers of fiberglass on them. 

The cross braces atop the engine foundations provided a guide and secure mounting location during epoxying.