I began early this morning by cutting 6" and 4" strips of biaxial cloth. I cut more than enough for the job and within 20 minutes had several rolls of tabbing ready for glassing.


Up in the boat, I confirmed lengths and cut the tabbing to size for each location before wiping all of the areas to be glassed with acetone. Areas to be tabbed included shelves in the head and hanging locker, including the head base and the hanging locker base and top; the starboard settee shelf; port upper shelf and settee shelf; a little area of the longitudinal bulkhead at the forward end of the starboard settee; and the galley bulkhead and shelf.

It took me about an hour to an hour and a half to finish the tabbing, the majority of the time spent mixing batches of epoxy. I really should have brought the resin and harder inside last night to keep it cool. It's been so hot here that the resin and hardener were probably at least 75 degrees at mixing and it wanted to kick pretty quickly with each batch, so I immediately spread it over tabbing and kept the pace going.
 |
| Hanging locker top shelf |
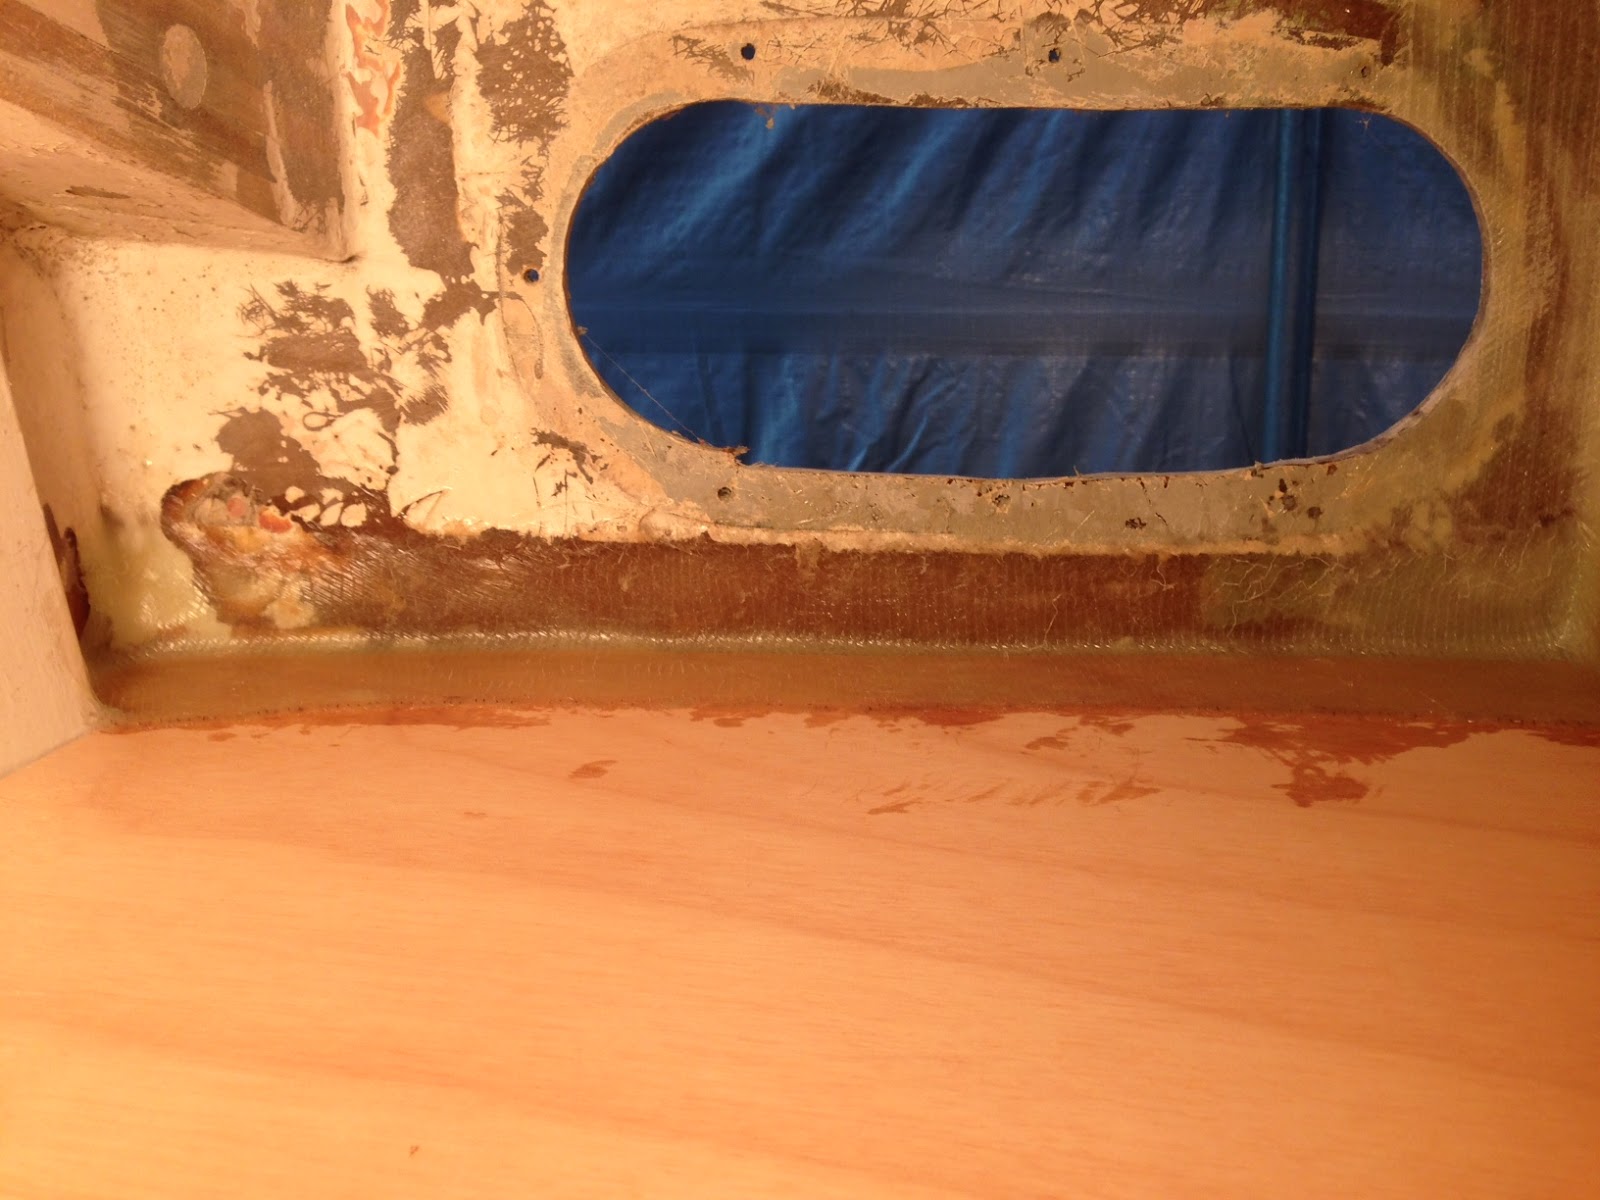
 |
| Port head locker with shelves and chainplate knee glassed to the hull |
 |
| Port shelves tabbed |
While the epoxy cured, I rolled on some white paint in the areas under and behind the settees, after which I'd finally had enough of the heat and fumes.
I worked next on the settee tops, marking the cut lines for the access hatches, then cutting each hatch with a borrowed Bosch jigsaw (again, sweet tool!). I used 1x2" pine to frame the bottom side of the hatch openings and screwed each cleat in place after bedding it in thickened epoxy. I drilled a 3/4" hole in the center of each hatch lid to facilitate opening and lightly sanded each hole to give them a smooth contour. Both settee bottoms received a coat of paint in preparation for installation.
 |
| Settee bottoms with hatch cleats epoxied and screwed in place |
 |
| Hatch lids, cleats, and a fresh coat of paint beneath |
 |
| Coming together. |
With the hatches constructed and the settee bottoms and backs painted (at least on the backside), I reassembled the interior. I'm not sure yet what I plan to do with the settee backs. There is decent storage space behind each one, but I'm not sure if I want to install access hatches or not. I'll have to decide soon since glassing the settees is next on my list. I realize I can always cut the hatches in place, but it would be much easier to work on a flat surface.
No comments:
Post a Comment